
Introduction
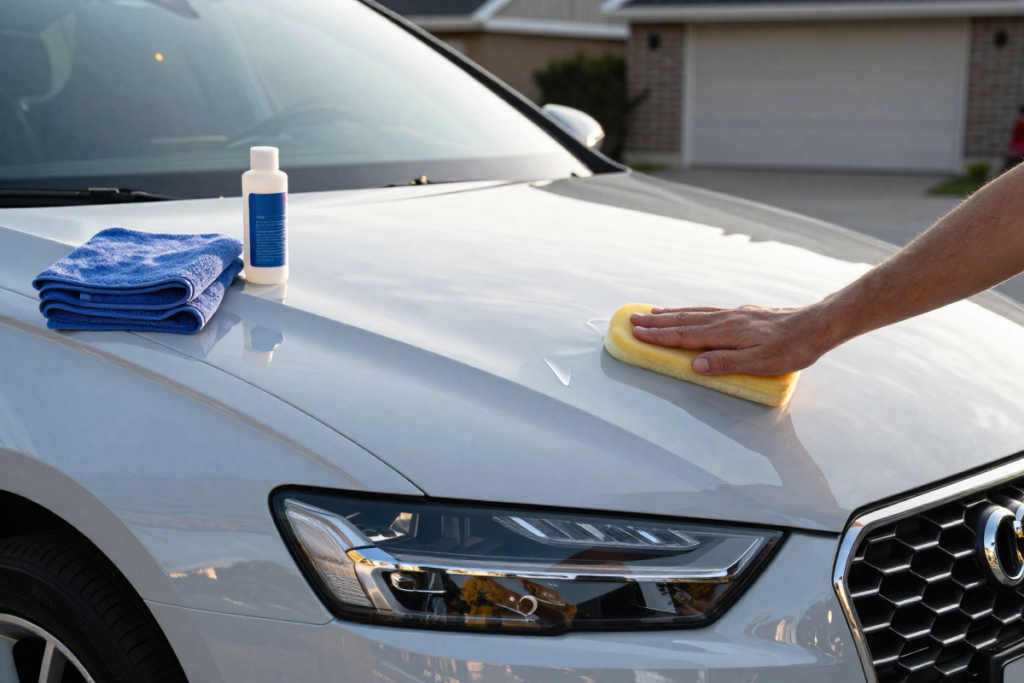
There’s something deeply satisfying about stepping back and seeing your car gleam like it just rolled off the showroom floor and you did it yourself. While dual-action polishers and detailing machines have their place, hand waxing your car remains one of the most rewarding, beginner-friendly, and cost-effective ways to protect your vehicle’s paint and bring out a deep, glossy shine.
Whether you’re a first-timer looking to learn the basics or a weekend warrior wanting to sharpen your technique, this comprehensive guide walks you through everything you need to know about how to wax a car by hand, from choosing the right products to buffing off the last trace of haze for a mirror-like finish.
In this guide, you’ll learn:
- Why hand waxing is still the preferred method for many car enthusiasts
- Exactly which tools and products you need (with buying tips)
- A complete step-by-step waxing process with pro techniques
- How to avoid the most common hand waxing mistakes
- Our top product recommendations for every budget and paint type
Why Waxing Your Car Matters
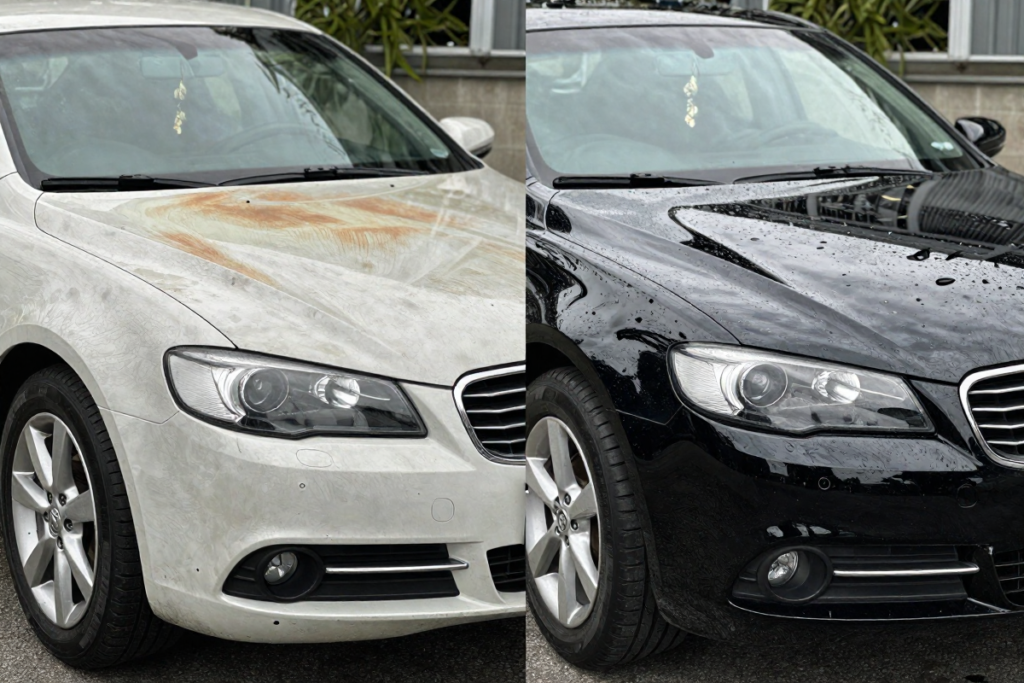
Before diving into the how-to, it’s worth understanding why regular waxing is one of the most valuable habits you can build as a car owner.
Protection from the elements: UV rays are one of the biggest threats to your car’s paint. Over time, prolonged sun exposure causes paint to fade, oxidize, and develop that dull, chalky appearance. A good coat of wax creates a sacrificial barrier between your paint and the sun, dramatically slowing this process.
Defense against contaminants: Bird droppings, tree sap, road tar, and industrial fallout are mildly acidic and can etch into unprotected paint if left too long. Wax forms a protective layer that makes it far easier to remove these contaminants before they cause lasting damage.
Enhanced shine and depth: Wax fills in micro-scratches and surface imperfections, producing the glossy, “wet-look” finish that makes paint appear richer and more vibrant.
Maintained resale value: A well-maintained exterior communicates to buyers that the vehicle has been cared for. Regular waxing helps preserve that like-new appearance that commands a better price.
Quick note on waxing vs. polishing: Many beginners confuse these two processes. Polishing is a corrective step that removes surface defects (scratches, oxidation) using mild abrasives. Waxing is a protective step that seals and shines the paint. Ideally, you polish first and wax second but if your paint is in good condition, waxing alone is perfectly fine.
Hand Waxing vs. Machine Waxing
Both methods can produce excellent results, but each has its ideal use case.
Advantages of hand waxing:
- No equipment investment — foam applicator pads cost just a few dollars
- Greater control on curves, edges, and trim-adjacent areas
- Far gentler — virtually eliminates the risk of burning through thin clear coat
- Perfect for light maintenance coats between full details
- Easy to do in a garage, driveway, or parking garage
Downsides of hand waxing:
- More time-consuming than machine application
- More physical effort, especially on larger vehicles
Bottom line: If you have a machine polisher and the experience to use it safely, it can speed up the process. But for most car owners, especially beginners, those with dark or delicate paint, or anyone without a DA polisher, hand waxing a car is the smarter, safer choice.
Tools and Materials You’ll Need
Gathering the right supplies before you start will make the entire process smoother. Here’s what you need and what to look for when buying:
Car Wax (Paste, Liquid, or Spray)
This is the most important purchase. Each form has trade-offs:
- Paste wax: Thicker, lasts longer, produces the deepest shine. Ideal for dark paint and show cars. Slightly more effort to apply and remove.
- Liquid wax: Easier to spread and buff off. Great for beginners and large vehicles. Still offers solid protection.
- Spray wax: Fastest to apply, least durable (2–4 weeks). Best used as a maintenance coat between full waxes, not as a primary application.
👉 [Our Pick: Best Car Wax for Hand Application]
Foam Applicator Pads
Foam pads distribute wax evenly without scratching. Look for dense, smooth-faced foam pads rather than open-cell sponges. Keep a few on hand so you can swap out when one becomes saturated.
👉 [PRODUCT: Foam Applicator Pads]
Microfiber Towels
The most important tool for buffing. Use plush, high-GSM (grams per square meter) microfiber cloths; aim for 300–400 GSM minimum. Low-quality towels can cause micro-scratches. Have at least 4–6 clean towels available before you start.
👉 [BEST QUALITY: Microfiber Buffing Towels]
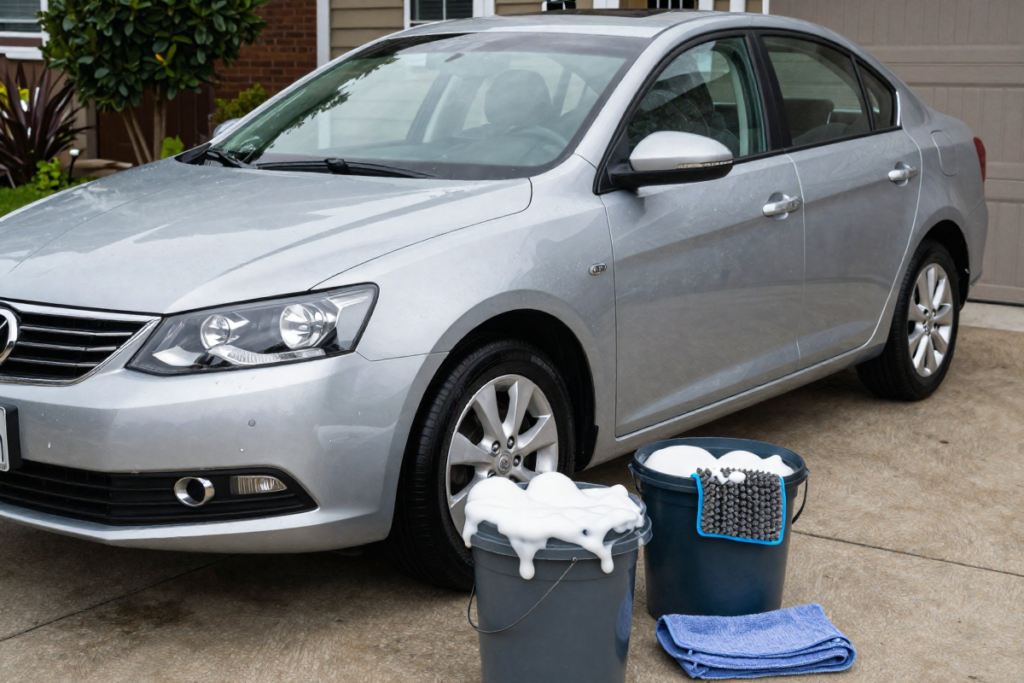
Car Wash Soap + Two-Bucket System
Use a dedicated car wash shampoo; never dish soap, which strips protective coatings. The two-bucket method (one for soapy water, one for rinsing your mitt) dramatically reduces swirl marks during the wash stage.
👉 [pH-Neutral: Car Wash Soap]
👉 [GREAT SET: Grit Guard + Bucket Set]
Clay Bar Kit (Optional but Recommended)
Before waxing, a clay bar removes bonded contaminants like tree sap, brake dust, and industrial fallout that washing can’t remove. Run your hand over the paint after washing and if it feels rough or gritty, claying is worth the extra 20 minutes.
👉 [GET IT HERE: Clay Bar Kit]
Preparing Your Car for Waxing
Wax applied to a dirty, wet, or contaminated surface simply won’t bond properly — and you risk trapping dirt particles under the wax, which can cause scratches during buffing. Prep is the step most beginners skip, and it’s the step that makes the biggest difference.
Step 1: Wash the Car Thoroughly
Use your two-bucket system and a quality microfiber wash mitt to remove all surface dirt, dust, and grime. Rinse from top to bottom, and don’t forget the wheel wells, lower rocker panels, and door jambs. A clean car is the only good canvas for wax.
Step 2: Dry Completely
Water left on the paint will prevent the wax from bonding. Use a clean, plush drying towel or chamois to dry the entire car. A quick detailer spray as a drying aid can help you achieve a streak-free result.
Step 3: Decontaminate with a Clay Bar (If Needed)
Fold your clay bar flat, spritz the panel with clay lubricant, and glide the clay in straight back-and-forth passes. You’ll feel (and hear) the clay picking up contaminants. Wipe the panel clean and move on. The paint should feel smooth like glass when you’re done.
Step 4: Work in the Right Environment
Shade is non-negotiable. Waxing in direct sunlight causes the product to dry too fast, making it nearly impossible to buff off cleanly and potentially leaving white residue baked into the paint. Aim for a cool, overcast day or work in your garage. Ideal temperatures are between 55°F and 85°F (13°C–29°C).
Step-by-Step Guide: How to Wax a Car by Hand
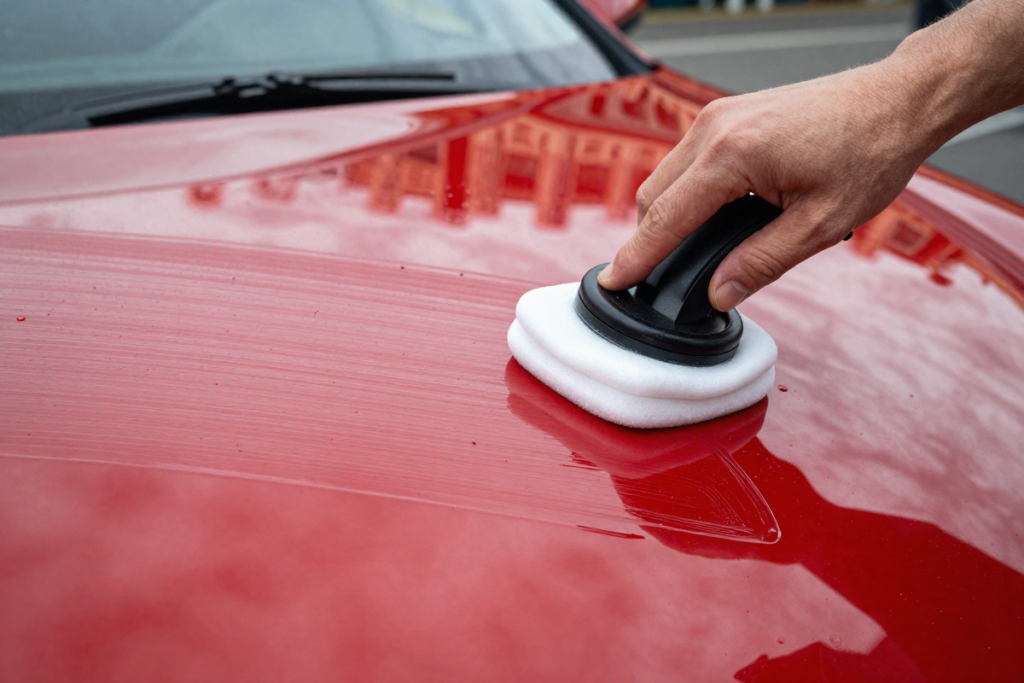
With your car clean, dry, and prepped, it’s time for the main event. Work one panel (hood, trunk lid, door, fender) at a time for the best results.
Step 1: Apply Wax to Your Applicator Pad
Dispense a small amount of wax — about the size of a quarter for paste wax, or a thin ribbon for liquid — directly onto your foam applicator. Less is more. Over-applying wastes product and makes buffing significantly harder.
💡 Pro Tip: Don’t apply wax directly to the paint. Always apply to the pad first for even distribution.
Step 2: Apply Wax to the Paint
Using light to medium pressure, spread the wax across the panel in overlapping, straight-line passes (back and forth, not circular). Work in small 2×2 foot sections for even coverage. Some detailers prefer circular motions — either method works as long as passes overlap and coverage is consistent. Avoid getting wax on rubber trim, plastic bumpers, or textured surfaces, as it can leave a white residue that’s hard to remove.
Step 3: Let the Wax Haze
Once you’ve covered a panel, let the wax sit and cure. You’ll notice it transitions from a wet sheen to a dull, hazy film — this is what you want. Depending on the product, ambient temperature, and humidity, this typically takes 2–5 minutes. Check the product’s directions, as some synthetic waxes can be removed immediately after application.
💡 Pro Tip: Do a ‘finger swipe’ test: drag a fingertip across the wax. If it comes away cleanly with no smearing, the wax is ready to buff.
Step 4: Buff Off the Wax
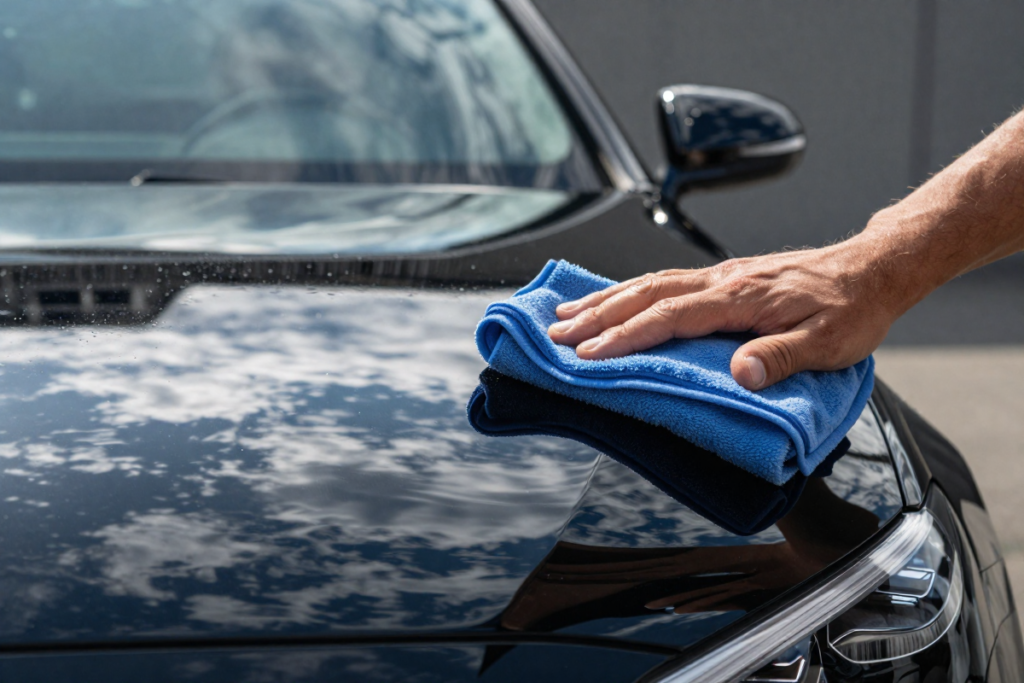
Fold a clean microfiber towel into quarters for a thick, even buffing surface. Using light pressure and straight-line strokes, buff away the haze. Flip your towel frequently — a saturated towel will push wax around rather than lift it. Use a second clean towel for a final light pass to eliminate any remaining haze or streaks.
💡 Pro Tip: Use ‘two-towel buffing’: one towel to lift the bulk of the wax, a second fresh towel to refine and reveal the final shine.
Step 5: Inspect and Apply a Second Coat (Optional)
Step back and inspect the panel in direct light or at a low angle. Look for any missed spots, uneven coverage, or swirl marks left by a dirty towel. For extra protection and depth — especially on dark-colored or show cars — apply a second thin coat after the first has fully cured (typically 20–30 minutes).
Common Mistakes to Avoid
Even experienced detailers occasionally fall into these traps. Being aware of them now will save you a lot of frustration:
- Applying too much wax: Thick coats don’t provide more protection — they just create more work during buffing. Multiple thin coats are always better than one thick one.
- Waxing in direct sunlight: This is the single most common mistake. Wax dries almost instantly in strong sunlight, making it nearly impossible to buff off without leaving residue.
- Skipping surface prep: Waxing over a dirty or contaminated surface traps contaminants under the wax and can scratch the paint during buffing.
- Using dirty or low-quality towels: Old cotton rags or cheap microfiber can scratch your clear coat. Invest in quality towels and keep them clean.
- Not letting the wax haze properly: Buffing too early when the wax is still wet creates a smeared, streaky mess. Wait for that characteristic dull haze before buffing.
- Getting wax on rubber or plastic trim: Wax can stain and discolor unpainted trim. If you do get wax on trim, remove it quickly with a dedicated trim cleaner.
Pro Tips for a Showroom Shine
Ready to take your results to the next level? These are the habits that separate a good wax job from a truly jaw-dropping one:
- Layer for depth: Apply two or three thin coats, allowing each to cure before applying the next. Each additional layer adds depth and increases protection.
- Use a detailing spray as a final step: A quick spritz of detail spray after your final buff adds an extra layer of gloss and helps remove any remaining haze.
- Match your wax to your paint color: Carnauba-based waxes produce the warmest, deepest glow — ideal for black, dark red, and dark blue paint. Synthetic polymer waxes deliver a crisper, brighter shine well-suited to white and silver vehicles.
- Maintain between full waxes: Use a spray wax or quick detailer every 2–3 weeks to extend the life of your wax coat and keep the paint looking fresh between full applications.
- Work in a cross-hatch pattern: Apply wax in one direction (left to right), then buff in the perpendicular direction (top to bottom) for the most even coverage.
How Long Does Car Wax Last?
Wax durability depends on several factors working together. Understanding these helps you plan your maintenance schedule:
Wax type: Natural carnauba waxes typically last 4–6 weeks. Synthetic polymer waxes last longer — often 6–12 weeks. Hybrid ceramic waxes can last 3–6 months.
Exposure: Vehicles parked outdoors in hot, sunny climates will see wax break down significantly faster than garage-kept cars.
Washing frequency: Frequent washing — especially with harsh soaps or automated car washes with bristle brushes — accelerates wax wear.
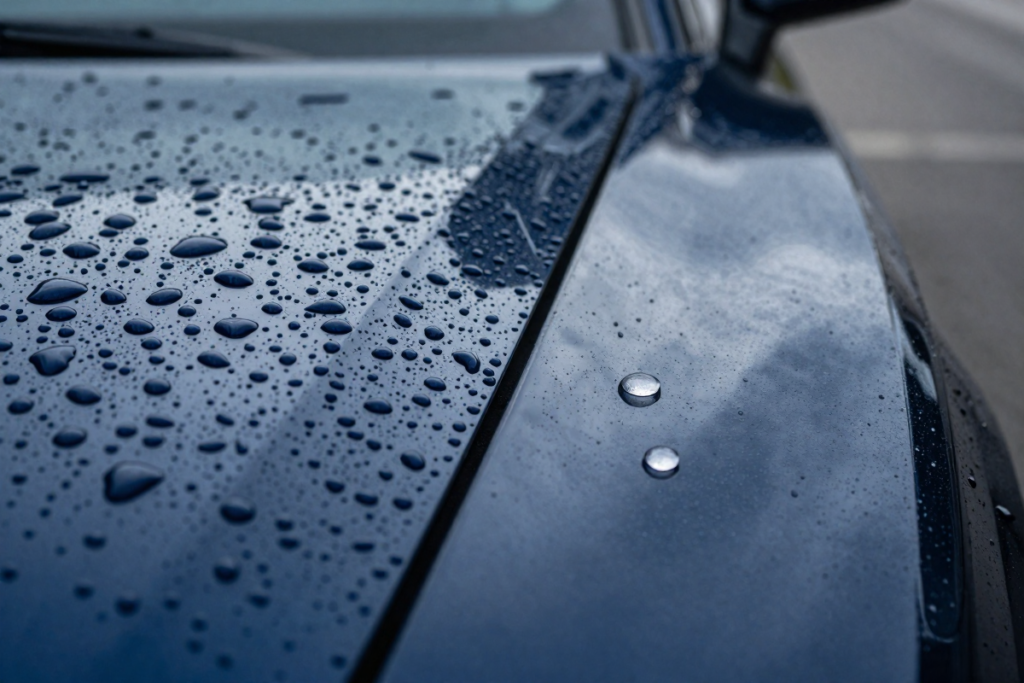
Signs it’s time to re-wax: Water no longer beads up and sheets off the paint (it sits flat instead). The paint looks dull even after washing. You can feel microscopic texture when running your hand over clean paint.
💡 Pro Tip: The water bead test is the simplest way to know when your car needs waxing: splash a little water on the paint. If it beads up into tight droplets, you’re still protected. If it spreads flat, it’s time to wax.
Best Car Waxes for Hand Application (Top Picks)
Based on performance, ease of use, and value, here are five waxes we recommend for hand application. Whether you’re a first-timer or a seasoned detailer, there’s an option for you.
| Product | Type | Best For | Durability | Difficulty |
| Meguiar’s Gold Class | Paste | Beginners & daily drivers | 4–6 weeks | Easy |
| Chemical Guys Butter Wet Wax | Liquid | Showroom shine seekers | 6–8 weeks | Easy |
| Collinite 845 Insulator Wax | Liquid | Longevity + protection | 6–12 weeks | Moderate |
| P21S Concours Carnauba | Paste | Premium/dark paint finish | 4–8 weeks | Moderate |
| Turtle Wax ICE Liquid | Liquid | Budget-conscious beginners | 4–6 weeks | Easy |
1. Meguiar’s Gold Class Carnauba Plus
An excellent all-rounder and the top choice for beginners. It spreads easily, hazes quickly, and buffs off with minimal effort. The result is a warm, glossy shine with solid UV protection. Ideal for daily drivers on any paint color.
👉 [PRODUCT OPTION 1 : Meguiar’s Gold Class Carnauba Plus]
2. Chemical Guys Butter Wet Wax
If showroom shine is the goal, Chemical Guys delivers. This liquid wax spreads like butter (hence the name) and produces a deep, wet-look gloss that’s especially stunning on dark paint. Easy enough for beginners, impressive enough for enthusiasts.
👉 [PRODUCT OPTION 2: Chemical Guys Butter Wet Wax]
3. Collinite 845 Insulator Wax
The go-to wax for longevity. Collinite 845 is beloved by detailing enthusiasts for its exceptional durability — many report it outlasting other waxes by weeks in harsh weather. It requires a little more elbow grease to remove, but the results are well worth it.
👉 [PRODUCT OPTION 3: Collinite 845 Insulator Wax]
4. P21S Concours Carnauba Wax
The premium option for those who want the absolute best carnauba shine. P21S is a favorite among show car enthusiasts and owners of dark, high-gloss paint. It produces an almost liquid-mirror depth that synthetic waxes struggle to match. Pricier, but worth it for special vehicles.
👉 [PRODUCT OPTION 4: P21S Concours Carnauba Wax]
5. Turtle Wax ICE Liquid Wax
The best budget pick. Turtle Wax ICE is widely available, affordable, and performs well above its price point. Great for first-timers who want to learn the process without committing to a premium product. A solid choice for older vehicles or daily commuters.
👉 [PRODUCT OPTION 5: Turtle Wax ICE Liquid Wax]
Frequently Asked Questions
How often should I wax my car?
For most drivers, waxing every 6–8 weeks strikes the right balance between protection and effort. If you park outdoors in a hot or harsh climate, aim for every 4–6 weeks. For garage-kept show cars, every 8–12 weeks is typically sufficient.
Can I wax over old wax?
Yes, in most cases. If the existing wax coat is still intact and relatively fresh, you can apply a new coat directly on top. However, if the old wax has broken down unevenly or you notice contamination buildup, it’s worth removing the old wax first with a pre-wax cleaner or clay bar for the best bond.
Is hand waxing better than spray wax?
Hand waxing with a paste or liquid wax provides significantly more protection and a deeper, more durable shine than spray wax. Spray wax is best used as a quick maintenance coat between full hand wax applications — think of it as a top-up, not a replacement.
Can I wax a dirty car?
No. Waxing over dirt and grime traps abrasive particles under the wax, which get dragged across the paint during buffing and cause scratches. Always wash, dry, and — ideally — clay bar the paint before waxing.
How long does the hand waxing process take?
For an average-sized sedan, plan on 1.5 to 2.5 hours for a single-coat application (including wash and prep). Larger vehicles or second coats will add time. As you develop your technique, the process becomes noticeably faster.
Does waxing protect against scratches?
Wax provides a modest buffer against very light surface abrasions (like fine swirl marks from improper washing), but it won’t protect against key scratches or parking lot door dings. For serious scratch protection, consider a paint protection film (PPF) or ceramic coating in addition to regular waxing.
Conclusion

Hand waxing your car is one of those rare DIY skills that pays dividends every time you do it. With the right preparation, quality products, and a bit of patience, you can achieve a level of shine and protection that rivals a professional detail — at a fraction of the cost.
Remember the essentials: always start with a clean, dry car; work in the shade; apply thin, even coats; and buff with clean, quality microfiber towels. Repeat the process every 6–8 weeks (or when water stops beading), and your paint will stay vibrant, protected, and showroom-ready for years to come.
Ready to get started? Browse our top-rated hand wax picks above, grab your foam applicator and microfiber towels, and give your car the care it deserves. Your future self — and anyone who sees your car gleaming in the driveway — will thank you.
PRODUCT CHECKLIST (Everything Featured In Article)
Best Car Wax for Hand Application
Foam Applicator Pads
Microfiber Buffing Towels
Car Wash Soap
Grit Guard + Bucket Set
Clay Bar Kit
Meguiar’s Gold Class Carnauba Plus
Chemical Guys Butter Wet Wax
Collinite 845 Insulator Wax
P21S Concours Carnauba Wax
Turtle Wax ICE Liquid Wax
Disclaimer: Links in this post contain affiliate links. If you purchase through these links I will earn a commission from the sale at no extra cost to you.