
You’ve just finished washing your car, and it looks fantastic—except for one glaring problem. The black plastic trim around your doors, bumpers, and fender flares has turned an embarrassing shade of dull gray. That chalky, weathered appearance stands out like a sore thumb, aging your otherwise clean vehicle by years.
If this sounds familiar, you’re not alone. Faded car plastic is one of the most common cosmetic issues vehicle owners face, regardless of whether they drive a brand-new SUV or a ten-year-old sedan. The good news? You don’t need to replace those expensive trim pieces or visit a professional detailer. With the right approach, you can restore that deep, rich black finish yourself—and make it last.
In this comprehensive guide, we’ll walk you through everything you need to know about reviving chalky plastic trim, from understanding what causes the damage to choosing between quick fixes and permanent solutions.
What Causes Faded Car Plastic?
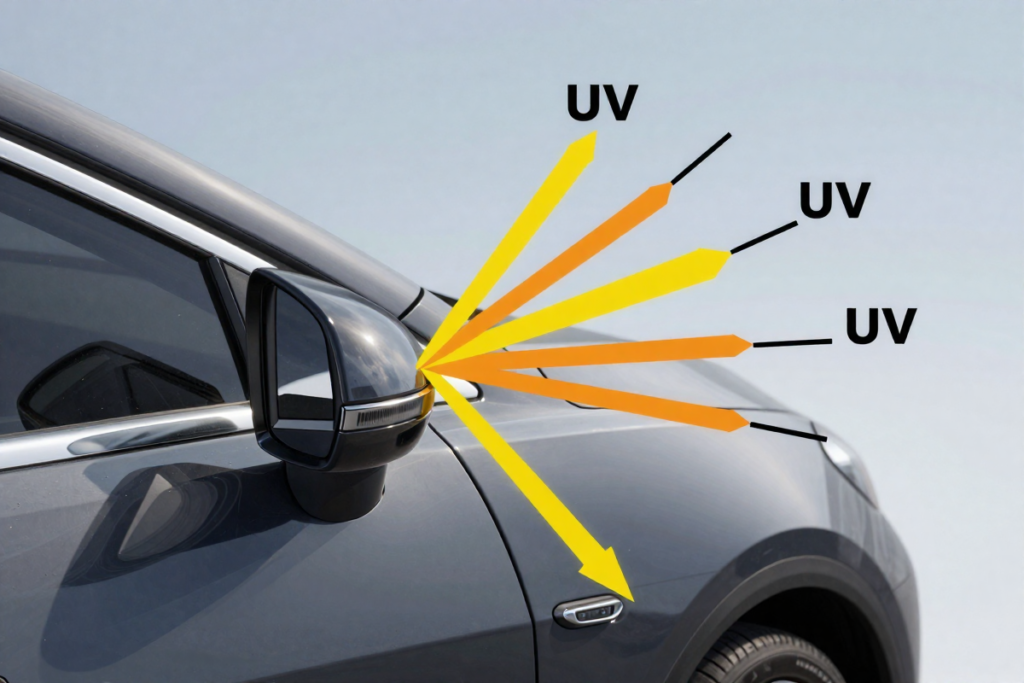
Before you can fix faded plastic trim, it helps to understand why it happens in the first place.
UV Damage and Oxidation: The Primary Culprits
The main villain behind that chalky appearance is ultraviolet (UV) radiation from the sun. Most automotive plastic trim is made from polypropylene or ABS plastic, which contains oils and plasticizers that give it flexibility and that deep black color. When UV rays bombard these materials day after day, they break down the molecular structure—a process called oxidation.
As oxidation progresses, those essential oils migrate to the surface and evaporate, leaving behind a dry, porous surface. The plastic literally loses its color at a molecular level, turning from black to gray or white. This isn’t just surface dirt you can wash off—it’s actual degradation of the material itself.
Environmental Factors That Accelerate Fading
UV exposure isn’t the only factor at play. Several environmental conditions speed up plastic deterioration:
- Heat and temperature fluctuations: Extreme heat causes plastics to expand and contract, accelerating oil loss
- Road salt and chemicals: Winter road treatments and harsh car wash chemicals strip protective layers
- Improper washing habits: Using aggressive degreasers or abrasive brushes damages plastic surfaces
- Moisture and humidity: Water penetration leads to deeper oxidation
Surface Fading vs. Deep Oxidation
Understanding the severity of your trim’s condition is crucial:
Surface fading appears as a light gray or slightly chalky texture. The plastic still retains some flexibility and hasn’t become brittle. This level of damage is highly reversible.
Deep oxidation manifests as a completely white, chalky coating that may even feel powdery to the touch. The plastic often becomes stiff and brittle. While still treatable, severely oxidized trim requires more aggressive restoration methods—and results may be less permanent.
Why Even New Cars Experience This Problem
You might assume newer vehicles would be immune to faded plastic, but that’s not always the case. Modern manufacturing often uses unpainted plastic trim to reduce costs and weight. While some manufacturers add UV inhibitors to their plastics, these additives gradually deplete over time. A car parked outside in a sunny climate can develop noticeable fading in as little as 12-18 months.
Can Faded Plastic Be Fully Restored?
Let’s set realistic expectations right from the start: it depends on the severity of the damage.
The Honest Answer
Light to moderate fading can absolutely be restored to near-original condition, often with impressive results that last months or even years with proper maintenance. Severely oxidized trim with deep white chalking can be significantly improved, but may never look factory-fresh again without more permanent solutions like dyeing or coating.
Temporary vs. Long-Term Restoration
This is a crucial distinction that affects which method you choose:
Temporary solutions (typically 3-6 months):
- Trim restorer gels and liquids
- Dressing products
- Oil-based treatments
These products work by depositing pigments, oils, or silicones onto the surface to temporarily darken the plastic and create shine. They’re easy to apply but require regular reapplication.
Long-term solutions (6 months to 2+ years):
- Ceramic coatings for plastic
- Permanent trim dyes
- Heat gun restoration (when done properly)
These methods either penetrate deeper into the plastic or create a bonded protective layer that resists UV damage and washing.
When Restoration Works Best
You’ll achieve the most dramatic results when:
- Fading is light to moderate (gray, not completely white)
- The plastic hasn’t become brittle or cracked
- You’re willing to properly prep the surface
- You choose the appropriate restoration method for your situation
When Replacement Might Be Necessary
Sometimes restoration isn’t worth the effort:
- Physical damage (cracks, breaks, or chunks missing)
- Extreme brittleness that causes the plastic to crumble
- Warping or deformation from previous heat damage
- When the cost of quality restoration products approaches replacement part prices
Best Methods to Restore Faded Car Plastic
Now let’s dive into the restoration methods that actually work, ranked from easiest to most advanced.
A. Quick Fix: Trim Restorer Products (Most Popular Solution)
Trim restorers are the go-to solution for most car owners, and for good reason.
What they are and how they work:
Trim restorers are specially formulated liquids or gels that combine darkening agents (pigments and dyes) with polymers or oils that penetrate the plastic surface. They essentially “re-oil” the dried-out plastic while depositing color to mask the gray oxidation.
[RECOMMENDED: Meguiar’s Ultimate Black Plastic Restorer]
Pros:
- Fast application: Most products take 10-15 minutes for an entire vehicle
- Beginner-friendly: No special skills or tools required
- Immediate results: Dramatic before-and-after transformation
- Affordable: Typically $15-30 per bottle
- Forgiving: Mistakes are easily correctable
Cons:
- Limited longevity: Results typically last 3-6 months depending on conditions
- Requires reapplication: Becomes part of your regular car care routine
- Variable quality: Not all products perform equally
- Can attract dust: Some formulations leave a slightly sticky residue
Best for: Daily drivers, budget-conscious owners, those wanting quick results without commitment.
B. Heat Gun Method (Advanced DIY Option)
This controversial method has gained popularity through viral videos showing dramatic transformations—but it comes with significant risks.
How it works:
A heat gun (or sometimes a propane torch) is carefully applied to faded plastic trim. The heat temporarily brings the oils within the plastic back to the surface, reversing the appearance of oxidation. When done correctly, results can be impressive and relatively long-lasting.
Step-by-step overview:
- Thoroughly clean and dry the trim
- Mask surrounding painted areas with tape
- Apply heat evenly using sweeping motions
- Watch for the color to return (plastic darkens)
- Avoid overheating any single spot
- Allow to cool completely before touching
[RECOMMENDED: Heat gun with temperature control and
Heat-Resistant Work Gloves]
Risks you need to know:
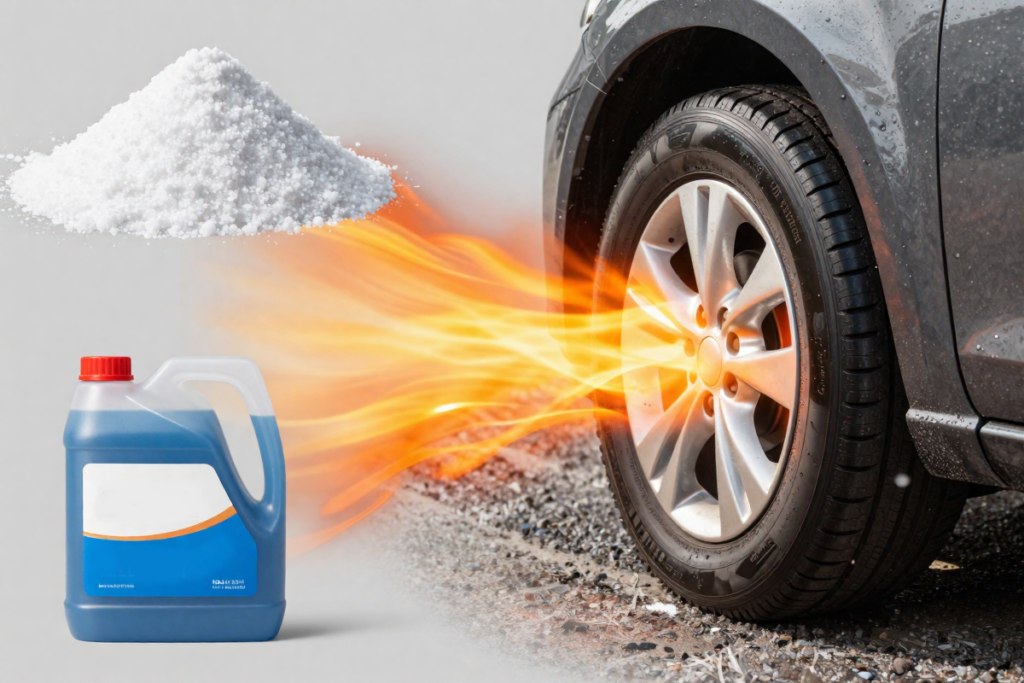
- Warping and melting: Too much heat permanently deforms plastic
- Uneven finish: Requires steady hand and consistent technique
- Fire hazard: Open flames or extreme heat near fuel systems and paint
- Shortened plastic lifespan: Heat accelerates long-term degradation
- Limited effectiveness on deeply oxidized trim
Our recommendation: While this method can work, we generally advise against it for beginners. The risk of permanent damage outweighs the benefits, especially when safer alternatives produce comparable or better results. If you do attempt this method, practice on inconspicuous areas first and invest in a quality heat gun with precise temperature control.
C. Permanent Restoration Solutions (Long-Term Fix)
For those seeking results that truly last, these advanced solutions deliver.
1. Ceramic Coatings for Plastic Trim
Ceramic coatings have revolutionized automotive detailing, and trim-specific formulations offer exceptional durability.
How they work:
Unlike traditional dressings that sit on the surface, ceramic coatings create a chemical bond with the plastic through a process called cross-linking. The coating forms a semi-permanent layer that’s highly resistant to UV rays, chemicals, and washing.
[RECOMMENDED: Cerakote Ceramic Trim Coat Restoration Kit]
Benefits:
- Extreme longevity: 1-2+ years with proper application
- Matte or satin finish: Looks factory-fresh, not overly shiny
- UV protection: Prevents future fading
- Hydrophobic properties: Repels water and contaminants
- Wash-resistant: Won’t wash away like traditional dressings
Application requirements:
- Meticulous surface preparation (the coating bonds to whatever’s there)
- Proper application technique (many require layering)
- Curing time (often 24 hours before water exposure)
- Higher cost ($30-70 per application)
[SURFACE PREP NEEDS: Isopropyl alcohol, applicator, and microfiber towels]
Best for: Enthusiasts, newer vehicles, those wanting the longest-lasting professional-grade results.
2. Plastic Dye and Permanent Restorer Kits
These products actually dye the plastic rather than just coating it.
Difference between dye and dressing:
Traditional dressings sit on top of the plastic and wash away gradually. Dyes penetrate into the porous oxidized surface and chemically bond, creating a permanent color change. Think of it like dyeing fabric versus painting it.
Why this approach is more permanent:
Once the dye molecules bond with the plastic polymer structure, they can’t be washed away. The color becomes part of the plastic itself. Only UV exposure over many months will gradually fade the dye, and even then, you’re starting from a much better baseline than weathered gray plastic.
Popular options:
- Back to Black Professional formula
- Forever Black trim products
- Specialized automotive plastic dyes
The trade-off is more involved application—you’ll need to thoroughly clean and sometimes lightly abrasive prep the surface for the dye to properly penetrate.
Step-by-Step Guide: How to Restore Faded Plastic Trim
Regardless of which restoration method you choose, proper preparation is critical. Here’s the complete process for achieving professional results.
Step 1: Thorough Cleaning
This is the most important step—and the one most people rush through or skip entirely.
Why cleaning matters:
Old dressings, wax, road grime, and oxidation residue prevent new products from bonding properly. If you apply a restorer over contamination, you’re essentially gluing it to dirt that will wash away in a few weeks.
What you’ll need:
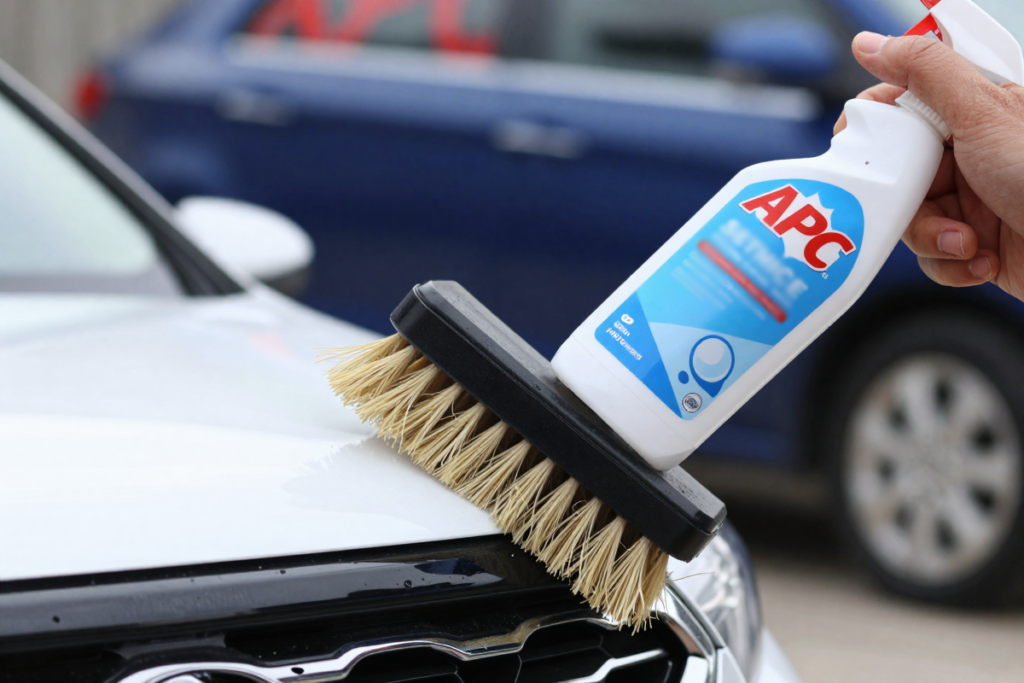
[Detailing brushes with soft to medium bristles]
The process:
- Spray your chosen cleaner generously on the trim
- Agitate with a brush using firm circular motions
- You should see gray or brown residue coming off
- Wipe with a microfiber towel
- Repeat until the towel comes away clean
- For heavily contaminated trim, a second cleaning with a degreaser may be necessary
Pro tip: If you’ve used tire shine or dressings before, you may need to clean 2-3 times to remove all residue. Don’t skip this—it’s the difference between results that last weeks versus months.
Step 2: Surface Preparation
Now that the trim is clean, prepare it for product application.
Drying thoroughly:
Use a clean, dry microfiber towel to remove all moisture. For textured plastic, compressed air helps remove water from crevices.
Optional polishing for severe oxidation:
If your trim has heavy white chalking, consider a light polish before restoration:
- Use a plastic-safe polish or extremely fine compound
- Apply with a foam applicator pad
- Work in small sections
- This physically removes the oxidized surface layer
- Wipe clean and dry completely
Isopropyl alcohol wipe:
For ceramic coatings or permanent dyes, a final wipe with 70% isopropyl alcohol ensures perfect surface cleanliness. This removes any oils (including from your hands) that could interfere with bonding.
Step 3: Applying the Restoration Product
Application technique varies by product type, but these principles apply universally.
General guidelines:
- Work in the shade or a garage (never in direct sunlight)
- Ensure surfaces are cool to the touch
- Apply to one section at a time
- Use an appropriate applicator for your product
For liquid restorers:
[Foam applicator pads (4 Pack)]
- Apply product to the applicator, not directly to trim
- Use even, overlapping strokes
- Work the product into textured areas
- Less is more—you can always add another layer
For ceramic coatings:
- Follow manufacturer instructions precisely
- Apply thin, even coats
- Some products require cross-hatching (vertical then horizontal passes)
- Watch for “flashing” (when the coating begins to cure)
- Remove excess immediately according to product directions
Common mistakes to avoid:
- Over-applying: More product doesn’t equal better results, just waste and potential streaking
- Uneven spreading: Creates blotchy appearance with dark and light areas
- Getting product on paint or glass: Mask adjacent areas or work carefully
- Rushing the process: Take your time for even coverage
Step 4: Buffing and Finishing
This step separates good results from great ones.
For traditional restorers:
After allowing the product to sit for the recommended time (usually 5-10 minutes):
- Use a clean microfiber towel
- Buff with light pressure using circular motions
- This removes excess product and evens out the finish
- Continue until the desired sheen is achieved
- Flip to a fresh section of towel frequently
Avoiding streaks:
Streaks typically occur from:
- Too much product in one area
- Not buffing thoroughly
- Using a dirty or saturated towel
- Applying in direct sunlight (causes flash drying)
If you notice streaks, apply a tiny amount more product and re-buff the area.
Achieving the right finish:
Most quality trim restorers produce a natural satin finish, not a high-gloss shine (which looks artificial on textured plastic). If your product dries too glossy, a light buff with a dry towel can tone it down.
Step 5: Curing and Protection
Don’t ruin your hard work by exposing your restoration too soon.
Letting the product set:
- Traditional restorers: Allow at least 1-2 hours before driving
- Ceramic coatings: Follow specific curing times (often 24-48 hours)
- Dyes: May require 12-24 hours to fully bond
Avoiding water exposure:
Most products need time to fully cure before getting wet:
- Don’t wash your car for at least 24 hours (48 hours for ceramics)
- Avoid driving in rain if possible during curing period
- Water exposure during curing can cause streaking or uneven finish
- Morning dew is generally fine after the minimum curing time
Enhancing longevity:
Once cured, your restoration will last longer if you:
- Park in shade when possible
- Use pH-neutral car wash soap
- Avoid tire shine overspray on trim
- Reapply UV protectant periodically (for non-ceramic solutions)
Before and After: What Results Should You Expect?
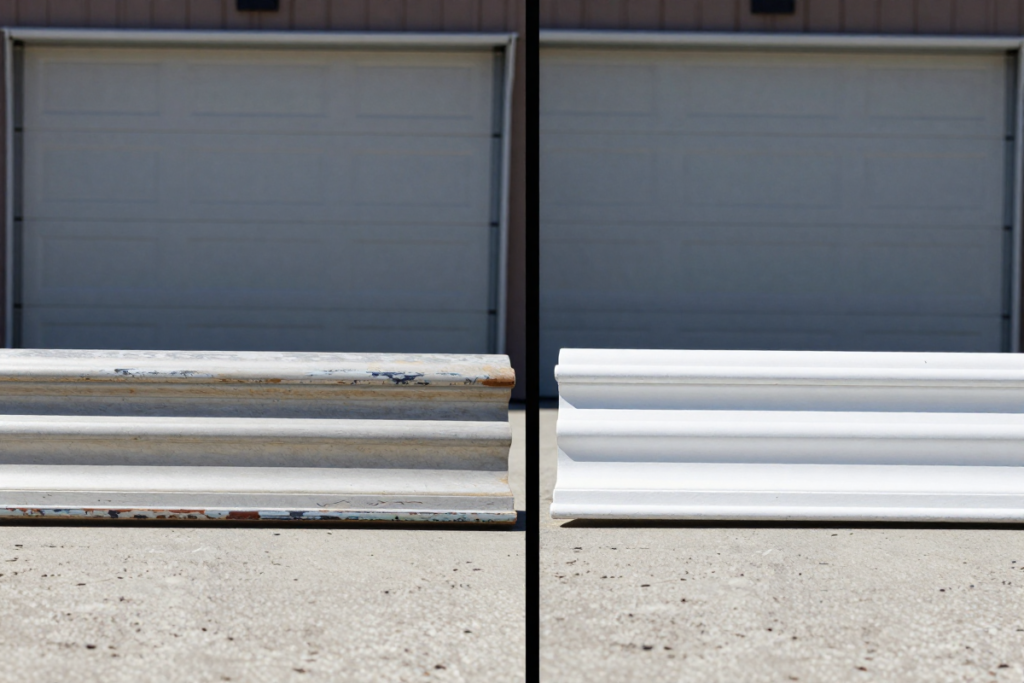
Let’s set realistic expectations based on your trim’s condition and chosen restoration method.
Realistic Expectations by Damage Level
Slight fading (light gray):
- Budget restorer: Excellent results, 85-95% restoration to original black
- Ceramic coating: Near-perfect restoration, maintains appearance for 18+ months
- Longevity: 4-6 months (restorer) to 2+ years (ceramic)
Moderate fading (medium gray with some chalking):
- Budget restorer: Good results, 70-85% restoration
- Premium restorer/dye: Excellent results, 85-95% restoration
- Ceramic coating: Outstanding results approaching 95%
- Longevity: 3-4 months (budget) to 12-18 months (ceramic)
Severe oxidation (white/heavily chalky):
- Budget restorer: Fair to good results, 60-75% improvement
- Dye or ceramic: Good to excellent results, 75-90% improvement
- May require multiple applications or aggressive prep
- Longevity: 2-3 months (budget) to 8-12 months (ceramic)
Product Longevity Comparison
Budget trim restorers ($10-20):
- Duration: 6-12 weeks with washing
- Best for: Quick fixes, cars washed frequently, budget-conscious buyers
- Reapplication: Every 2-3 months
Premium trim restorers ($20-40):
- Duration: 3-6 months
- Best for: Regular maintenance, balanced performance/cost
- Reapplication: 2-3 times per year
Ceramic coatings ($40-70):
- Duration: 12-24+ months
- Best for: Long-term protection, enthusiast vehicles, minimal maintenance
- Reapplication: Annually or less
Permanent dyes ($25-50):
- Duration: 12-18 months before noticeable fading
- Best for: Severely faded trim, permanent solution
- Reapplication: Once yearly
Maintenance Requirements
To maximize longevity regardless of product:
- Wash regularly with pH-neutral soap (prevents buildup that degrades products)
- Avoid automatic car washes with harsh brushes that strip protection
- Reapply before complete fading (easier to maintain than fully restore)
- Add UV protectant every few months for non-ceramic solutions
[RECOMMENDED: pH-neutral car wash soap and UV protectant spray]
How to Keep Car Plastic from Fading Again
Prevention is always easier than restoration. Here’s how to protect your investment.
A. Use UV Protectants
Why UV protection matters:
Even after restoration, your trim remains vulnerable to the same UV radiation that caused the original fading. UV protectant sprays contain ingredients that absorb or reflect harmful rays, acting like sunscreen for your plastic.
[TRY THIS: 303 Aerospace Protectant]
Application schedule:
- After ceramic coating: Not necessary (coating provides UV protection)
- After traditional restorer: Apply UV protectant every 4-6 weeks
- Year-round: Even in winter, UV rays damage plastic
How to apply:
- Clean trim with quick detailer or water
- Spray protectant onto applicator pad
- Apply thin, even coat to all plastic surfaces
- Buff to desired sheen
- Takes just 5 minutes during regular car care
B. Proper Washing Techniques
How you wash your car significantly impacts trim longevity.
Best practices:
- Use pH-neutral car soap: Harsh degreasers strip protective layers
- Two-bucket method: Prevents recontaminating wash mitt with dirt
- Soft wash mitts or microfiber towels: Avoid stiff brushes on trim
- Rinse thoroughly: Soap residue accelerates fading
- Dry completely: Water spots on trim can create uneven fading
What to avoid:
- Automatic car washes with harsh chemicals and abrasive brushes
- Household cleaners (dish soap, all-purpose cleaners) that strip protection
- Pressure washing directly at trim edges (can lift coatings)
- Tire shine overspray on trim (creates uneven, greasy buildup)
C. Parking Habits That Protect Trim
Where you park matters more than you might think.
Shade whenever possible:
- Reduces UV exposure by 60-80%
- Lowers surface temperatures that accelerate oil evaporation
- Even partial shade helps significantly
Garages are ideal:
- Complete UV protection
- Stable temperatures prevent expansion/contraction cycles
- Worth the effort if available
Car covers for long-term storage:
- Essential for vehicles parked outdoors for extended periods
- Use breathable covers to prevent moisture trapping
- Particularly important in harsh climates
Strategic parking:
- Face your car to minimize sun exposure on the most faded side
- Park near buildings or trees when no garage is available
- Avoid reflective surfaces (white buildings) that intensify UV exposure
Common Mistakes to Avoid
Learn from others’ errors to save time, money, and frustration.
Using Tire Shine on Trim
This is perhaps the most common mistake.
Why it’s problematic:
Tire shine products are formulated for rubber, not plastic. They typically contain:
- Heavy silicones that attract dirt and dust
- Petroleum distillates that can accelerate plastic breakdown
- Glossy finishes that look unnatural on textured plastic trim
The result: A greasy, dust-magnet surface that looks worse within days and may actually accelerate long-term fading.
The solution: Use products specifically designed for plastic trim. They’re formulated to penetrate plastic’s porous surface and provide appropriate finish levels.
Skipping the Cleaning Step
We mentioned this earlier, but it bears repeating: surface preparation determines longevity.
Applying any product over old dressings or contamination means you’re bonding your new product to residue that will wash away, taking your fresh restoration with it. Those impressive before-and-after results you’re hoping for won’t last more than a couple washes.
Spend 80% of your time on prep and 20% on application for the best results.
Applying in Direct Sunlight
Direct sunlight causes several problems:
- Products flash-dry before you can spread them evenly
- Creates streaking and blotchy appearance
- Reduces product penetration into the plastic
- Makes achieving consistent coverage nearly impossible
Always work in shade or inside a garage. If you must work outside, do it early morning or evening when surfaces are cool and sun angles are low.
Using Household Products
The internet is full of “life hacks” claiming you can restore trim with:
- Peanut butter
- Olive oil
- WD-40
- Vaseline
The truth: While these may temporarily darken plastic, they:
- Don’t provide UV protection
- Wash away immediately
- Attract dirt and grime
- Can accelerate long-term degradation
- Look greasy and unnatural
Quality trim restoration products cost $15-30 and are specifically engineered for this purpose. Don’t compromise results to save a few dollars with inappropriate substitutes.
DIY vs Professional Detailing: Which Is Better?
Let’s break down the cost-benefit analysis.
Cost Comparison
DIY restoration:
- Basic approach: $20-40 (cleaner + restorer + applicators)
- Premium approach: $60-100 (degreaser + prep kit + ceramic coating)
- Tool investment: $15-30 (brushes, towels, applicators – reusable)
- Time investment: 1-3 hours depending on vehicle size
Professional detailing:
- Trim restoration service: $75-200 (standalone service)
- Full exterior detail with trim: $150-400
- Ceramic coating package: $300-1,000+ (usually includes trim)
- Time investment: Drop-off service, 0 hours of your time
Results Comparison
DIY can achieve professional results when:
- You follow proper preparation techniques
- You use quality products appropriate for your trim’s condition
- You take your time and work methodically
- You’re willing to learn and potentially redo areas
Professional detailing advantages:
- Experience with challenging cases (severely oxidized trim)
- Commercial-grade products not available to consumers
- Specialized tools and perfect working environment
- Warranty or satisfaction guarantees
- Consistent, even results across entire vehicle
DIY advantages:
- Significant cost savings (70-90% less expensive)
- Learn valuable skills for ongoing maintenance
- Satisfaction of doing it yourself
- Ability to take breaks and work at your own pace
- No appointment scheduling necessary
When to Hire a Professional
Consider professional service when:
- You have severe oxidation across the entire vehicle (would take many hours DIY)
- Your time is more valuable than the cost difference
- You’re considering ceramic coating and want professional application
- You lack confidence in achieving even results
- Your vehicle is high-value and you want guaranteed outcomes
- You’re combining trim restoration with paint correction or full detail
When DIY Makes Sense
Go the DIY route when:
- You have light to moderate fading
- You enjoy car care and detailing
- Budget is a primary concern
- You want to maintain results yourself long-term
- You’re willing to invest time learning proper techniques
- Your schedule doesn’t align with detailer availability
Bottom line: For most car owners with typical fading, DIY restoration offers the best value. The products work extremely well, and with proper technique, you can achieve 90% of professional results for a fraction of the cost.
Frequently Asked Questions
How long does trim restorer last?
Answer: It depends on the product type and environmental conditions:
- Budget restorers: 6-12 weeks with regular washing
- Premium restorers: 3-6 months
- Ceramic coatings: 12-24+ months
- Permanent dyes: 12-18 months
Longevity decreases with frequent washing, sun exposure, and harsh weather. Cars parked in garages see significantly longer-lasting results.
Does WD-40 fix faded plastic?
Answer: WD-40 can temporarily darken faded plastic by depositing oils on the surface, but it’s not a proper solution.
Why not to use it:
- Washes away after one or two rain showers
- Attracts dirt and dust heavily
- Provides zero UV protection
- Creates greasy appearance
- No actual restoration—just temporary masking
Invest in actual trim restoration products for lasting results.
Can you paint plastic trim?
Answer: Yes, but it’s more complicated than restoration and not always recommended.
The process involves:
- Thorough cleaning and degreasing
- Light sanding to create adhesion
- Plastic-specific adhesion promoter
- Multiple thin coats of plastic trim paint
- Clear coat for durability (optional)
Considerations:
- Paint may crack or peel if plastic flexes
- Chips and scratches show more obviously than with restored plastic
- Requires more skill than using restoration products
- Permanent solution that can’t easily be undone
Best for: Severely damaged trim beyond restoration, or color-change projects. For typical fading, restoration products deliver better, more natural-looking results.
What is the best product for faded car trim?
Answer: It depends on your priorities:
Best overall value: Solution Finish Black Plastic & Trim Restorer—excellent results, good longevity (4-6 months), easy application
Best longevity: Cerakote Trim Coat or similar ceramic coating—lasts 18-24+ months with proper application
Best budget option: Meguiar’s Ultimate Black Plastic Restorer—affordable, easy to find, delivers good results for 2-3 months
Best for severe oxidation: CarPro PERL or Chemical Guys VRP (diluted)—penetrates deeply, can be layered
Is it worth restoring or replacing?
Answer: Restoration is almost always the better choice unless:
Restore when:
- Trim is faded but not physically damaged
- Replacement parts cost more than $100
- You want to maintain original appearance
- Fading is the only issue
Replace when:
- Trim is cracked, broken, or warped
- Plastic has become brittle and crumbles
- Previous heat gun damage has caused melting
- You’re doing a full restoration/modification project
- Replacement parts are inexpensive (under $50)
Most faded trim can be restored to 80-95% of original appearance for under $50 in products, while replacement trim can cost $200-600+ for a full vehicle depending on make and model.
Conclusion
Faded, chalky plastic trim doesn’t have to ruin your car’s appearance or require expensive replacements. Whether you’re dealing with light gray fading or severe white oxidation, there’s a restoration solution that fits your budget, skill level, and time commitment.
The key takeaways:
- Proper preparation is everything—spend time cleaning and prepping for lasting results
- Match the solution to your situation—quick restorers for maintenance, ceramic coatings for longevity
- Prevention pays dividends—regular UV protection and proper washing extend restoration dramatically
- DIY delivers real value—you can achieve professional-quality results with the right products and techniques
Ready to transform your car’s appearance? Start with a thorough cleaning, choose a restoration product that matches your goals, and follow the step-by-step process we’ve outlined. In just a few hours, you can turn dull, gray plastic back to deep, rich black—and keep it that way with simple maintenance.
[GET STARTED WITH THIS: Chemical Guys Plastic Trim Restore Kit]
Your car deserves to look its best. With the knowledge you’ve gained from this guide, those chalky trim pieces that have been bothering you for months can become a satisfying DIY success story this weekend.
Disclaimer: This article contains affiliate links. If you purchase an item through the link I will earn a small commission at no extra cost to you.