
You just finished washing your car, stepped back to admire your work — and there they are. Brown, faded, grimy tires dragging down an otherwise spotless vehicle. Sound familiar?
It’s one of the most frustrating parts of car care. No matter how many times you run through the automatic car wash or splash some soapy water on your tires, that dull, brownish residue just keeps coming back. The truth is, standard car washes simply aren’t designed to deep clean tire sidewalls — and without the right approach, you’re really just moving dirt around.
The good news? Learning how to deep clean your tires at home is easier than you think, and the results are dramatic. In this guide, you’ll learn exactly what causes tire browning, which tools and products professionals swear by, a simple step-by-step cleaning process, and expert tips to keep your tires looking deep black and protected for weeks at a time.
Let’s get into it.
Why Deep Cleaning Your Tires Actually Matters
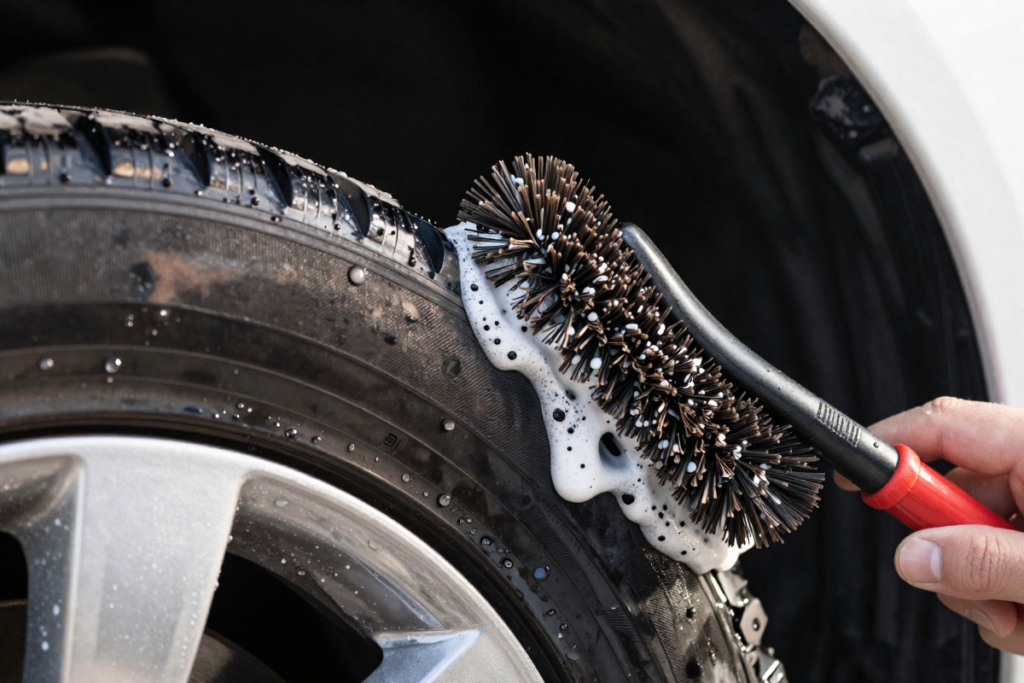
Before we dive into the how-to, it helps to understand why tires get so dirty in the first place — and why a surface rinse just doesn’t cut it.
Tire Cleaning vs. Wheel Cleaning: Know the Difference
These two tasks are often lumped together, but they require completely different products and techniques. Wheel cleaning targets brake dust, road grime, and metal contamination on your rims. Tire cleaning focuses on the rubber sidewalls — and rubber is a porous material that traps contaminants deep in its surface.
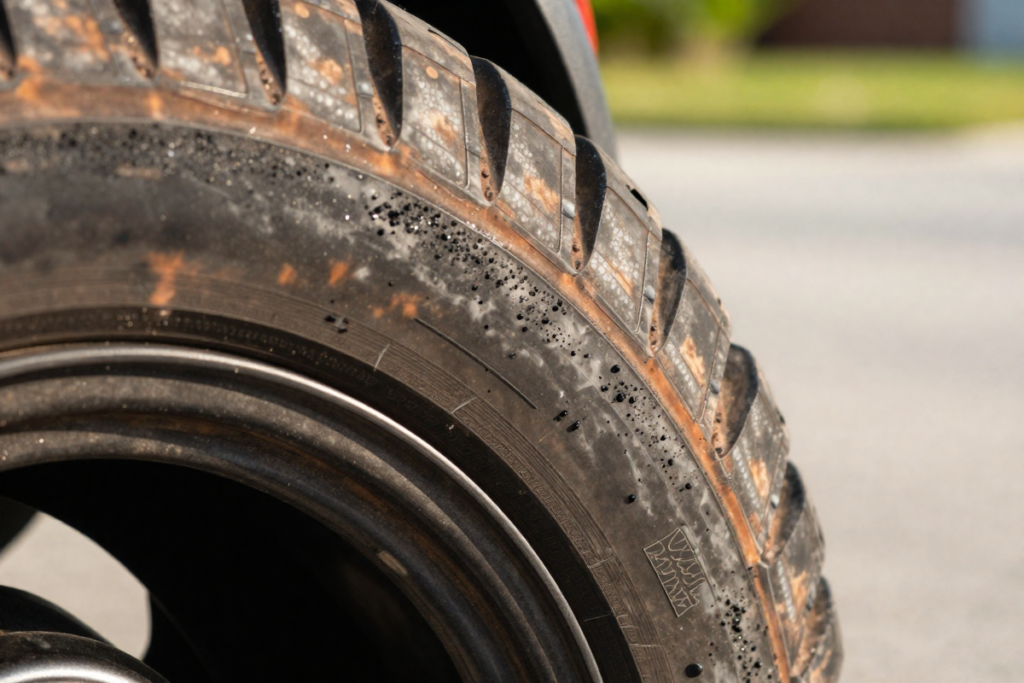
What’s Actually Causing That Brown Color?
That ugly brown tint isn’t just dirt. It’s the result of a chemical process called tire blooming — a phenomenon caused by antiozonant migration. Tire manufacturers embed antiozonants into rubber compounds to prevent ozone cracking and dry rot. Over time, these chemicals naturally rise to the surface of the tire, where they oxidize and turn brown when exposed to air, UV rays, and road grime.
Add in brake dust, road tar, and general road grime, and you’ve got a multi-layered contamination problem that a garden hose alone will never fully solve.
Benefits of Regular Deep Cleaning
- ✅ Dramatically improves curb appeal
- ✅ Prevents premature cracking and dry rot
- ✅ Removes antiozonant buildup that causes browning
- ✅ Allows tire dressings to bond properly for longer-lasting results
- ✅ Extends the overall life of your tires
Expert recommendation: Deep clean your tires every 2 to 4 weeks for daily drivers, or after any exposure to road salt, mud, or heavy rain.
What You’ll Need: Tools & Products for Deep Cleaning Tires
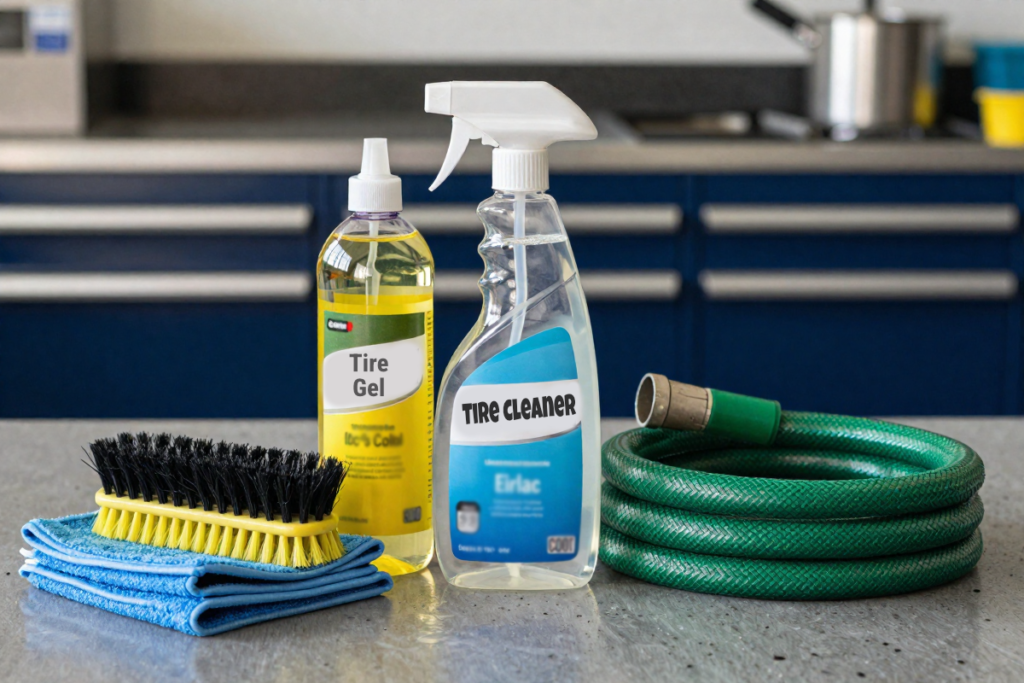
Having the right supplies makes all the difference. Here’s everything you need to do this job properly.
Essential Supplies
- Dedicated tire cleaner (foam, gel, or spray formula)
- Stiff-bristle tire brush (specifically designed for rubber sidewalls)
- Microfiber towels for drying and prep
- Garden hose or pressure washer for rinsing
🛒 Product Comparison Table
| Product | Type | Best For | Price Range | PRODUCT Link |
|---|---|---|---|---|
| [BUDGET TIRE CLEANER ] | Spray | Everyday maintenance cleaning | $ | [Check Price] |
| [PREMIUM TIRE CLEANER] | Foam/Gel | Heavily oxidized or browned tires | $$ | [Check Price] |
| [BEST TIRE BRUSH] | Stiff-bristle brush | Aggressive sidewall scrubbing | $ | [Check Price] |
| [PRESSURE WASHER] | Equipment | Faster pre-rinse & rinse cycles | $$$ | [Check Price] |
| [FOAM CANNON] | Attachment | Applying cleaner evenly at volume | $$ | [Check Price] |
Pro Tip: Always use a dedicated tire cleaner rather than an all-purpose cleaner. Formulas designed specifically for rubber are pH-balanced to clean effectively without drying out or degrading the sidewall compounds.
Step-by-Step Guide: How to Deep Clean Tires at Home
This is the core process used by professional detailers — simplified for home use. Work on one tire at a time, and try to work in a shaded area to prevent products from drying prematurely.
Step 1: Pre-Rinse the Tires Thoroughly
Start by hitting each tire with a strong stream of water from your garden hose or pressure washer. This removes loose surface dirt, mud, and debris before any product touches the rubber.
Why this matters: Scrubbing over dry, loose grit can cause micro-abrasions on the sidewall surface. A good pre-rinse also opens up the pores of the rubber slightly, allowing your tire cleaner to penetrate more effectively.
If you have a pressure washer, use it here — it cuts pre-rinse time significantly. 👉 [Recommended: PRESSURE WASHER]
Step 2: Apply Tire Cleaner Generously
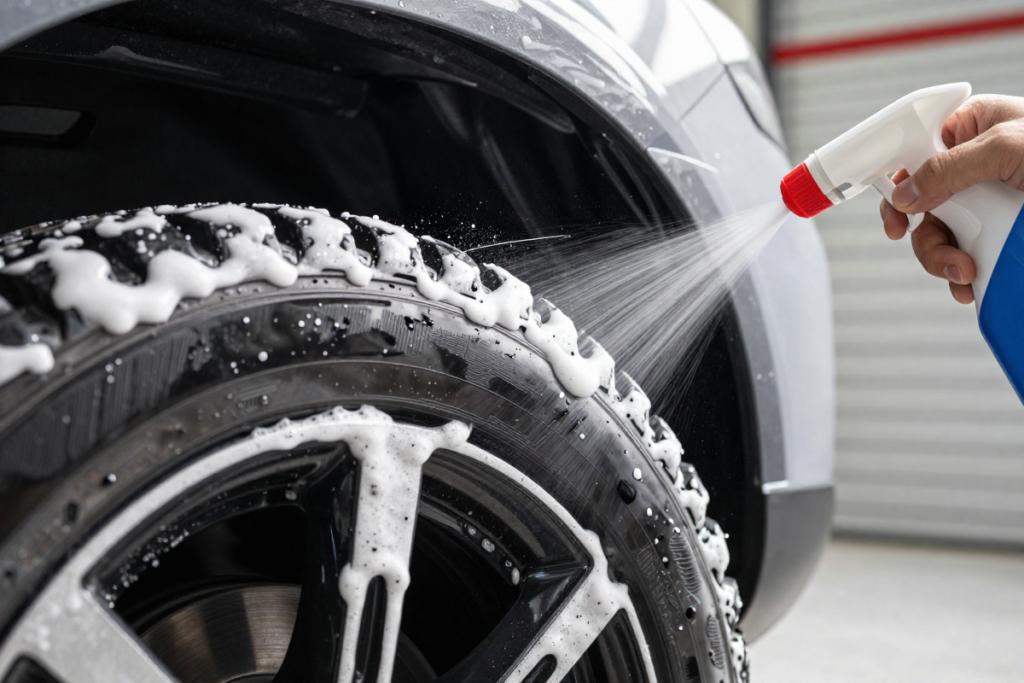
Spray or apply your chosen tire cleaner liberally across the entire sidewall surface. Make sure to coat the full face of the tire, from the tread edge down to the rim edge.
Dwell time is key: Allow the product to sit and work for 30 to 60 seconds. This gives the formula time to break down oxidized antiozonants, brake dust, and embedded road grime at the chemical level — doing much of the heavy lifting before you even pick up a brush.
⚠️ Don’t let it dry. If you’re working in direct sunlight or heat, work faster and mist the tire with water if needed to keep the cleaner active.
👉 [PREMIUM TIRE CLEANER – AFFILIATE PLACEHOLDER]
Step 3: Scrub the Tire Sidewalls
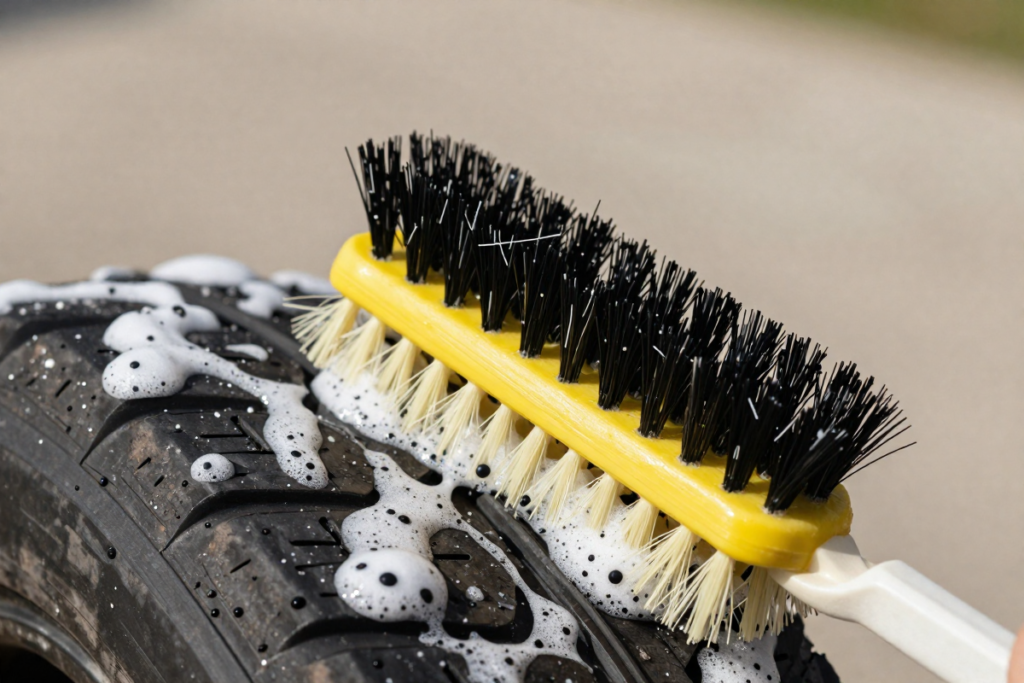
Now grab your stiff-bristle tire brush and get to work. Use firm, circular scrubbing motions across the entire sidewall surface. Pay extra attention to areas with visible brown oxidation or heavy buildup.
What to look for: As you scrub, the foam should turn darker — that’s the dirt, oxidation, and antiozonant buildup being lifted from the rubber. Keep scrubbing until the foam begins to turn white or light gray, which signals that the surface is clean.
For severely browned tires, you may need to repeat the application and scrubbing process two or even three times before you’re satisfied with the result.
👉 [BEST TIRE BRUSH – AFFILIATE PLACEHOLDER]
Step 4: Rinse Thoroughly and Inspect
Rinse the tire completely with clean water, washing all product and lifted grime away from the rubber and off the wheel. Inspect the sidewall carefully in good lighting.
Still seeing brown patches? Apply a second round of cleaner, let it dwell, and scrub again. Heavily oxidized tires — especially those that haven’t been properly cleaned in months — may require multiple passes to fully restore.
Step 5: Dry the Tires Before Applying Dressing
Use a clean microfiber towel to blot and dry the sidewall surface. This step prevents water spots and — critically — prepares the rubber for tire dressing application.
Applying dressing over a wet or damp tire leads to poor adhesion, uneven coverage, and faster product breakdown. A properly dried tire allows dressing to bond directly to the rubber for a longer-lasting, more uniform finish.
Pro Tips for a Deeper, Longer-Lasting Clean
These are the details that separate a great DIY tire detail from a truly professional result:
- Clean your tires first, before washing the rest of the car. Tire cleaner and scrubbing can splash onto painted panels and glass. Start at the bottom and work your way up.
- Never use dish soap or household bleach on tires. Dish soap strips protective compounds from rubber, accelerating dry rot. Bleach is even more aggressive and can cause irreversible damage to the sidewall.
- Keep your tire brush separate from your wheel brush. Cross-contaminating brushes can scratch delicate wheel finishes or transfer brake dust back onto clean tires.
- Work in the shade whenever possible. Direct sunlight causes products to dry too quickly, leading to streaking and reduced cleaning effectiveness.
- Use multiple passes for heavily oxidized tires. There’s no shortcut here — patience and repetition are what separate mediocre results from truly restored rubber.
Common Mistakes That Undermine Your Results
Even with good products, these mistakes will hold you back:
| ❌ Mistake | ✅ What to Do Instead |
|---|---|
| Letting cleaner dry on the tire | Work in shade; mist with water if needed |
| Using harsh household chemicals | Use a dedicated rubber-safe tire cleaner |
| Relying on spray-only (no scrubbing) | Always agitate with a stiff brush |
| Skipping the rinse | Rinse completely to remove all residue |
| Applying dressing to a dirty tire | Always deep clean before dressing |
Should You Use a Tire Dressing After Cleaning?
Absolutely — and here’s why it matters beyond just aesthetics.
A quality tire dressing does two important jobs: it restores the deep black appearance of the rubber, and more importantly, it provides UV protection that slows down the oxidation process responsible for browning and dry rot. Think of it as sunscreen for your tires.
Water-Based vs. Solvent-Based Tire Dressing
Water-based dressings deliver a natural, satin finish that looks OEM-clean without the greasy “wet tire” look. They’re longer-lasting and less likely to sling onto your paint while driving.
Solvent-based dressings provide a higher-gloss, showroom shine but tend to fade faster and can accelerate browning if applied too frequently without a proper cleaning base.
Recommended Tire Dressings
(Affiliate placeholders — update with your links)
| Product | Finish | Best For | PRODUCT Link |
|---|---|---|---|
| [BEST LONG-LASTING DRESSING – Chemical Guys Tire Kicker Extra Glossy Tire Shine] | Extra Glossy | Daily drivers, long-term protection | [Check Price] |
| [BEST MATTE FINISH DRESSING – 3D GLW Series Ceramic Matte Tire Shine] | Matte | OEM / sleeper builds | [Check Price] |
| [BEST BUDGET DRESSING – Meguiar’s Endurance Tire Gel] | Gloss | Quick weekend detailing | [Check Price] |
👉 Apply tire dressing with a foam applicator pad for the most even, controlled coverage and to avoid product flinging onto your wheel wells or paint.
How Often Should You Deep Clean Your Tires?
There’s no single universal answer — it depends on how you use your vehicle and where you live.
| Vehicle Type / Condition | Recommended Frequency |
|---|---|
| Daily driver, mixed conditions | Every 2–4 weeks |
| Weekend or show car | Every 4–6 weeks or before events |
| Winter driving (salt, slush) | After every major weather event |
| Dusty or dry climates | Every 2–3 weeks |
For day-to-day maintenance between deep cleans, a quick spray-and-rinse can help slow down the buildup of road grime. But nothing replaces periodic deep cleaning with a dedicated cleaner and stiff brush.
DIY vs. Professional Tire Cleaning: Is It Worth Doing Yourself?
| Factor | DIY at Home | Professional Detailing |
|---|---|---|
| Cost | $15–$40 in supplies | $50–$150+ per detail |
| Time | 30–60 minutes | Drop-off and wait |
| Quality | Excellent with right products | Professional-grade results |
| Convenience | On your schedule | Requires appointment |
| Long-term value | Ongoing investment | One-time service |
Bottom line: DIY tire cleaning delivers professional-quality results at a fraction of the cost — especially once you have the right tools on hand. Professional detailing is worth considering for seasonal deep cleaning or heavily neglected tires that need specialized decontamination treatments.
Frequently Asked Questions
How do you remove brown stains from tires?
Brown staining is caused by antiozonant oxidation (tire blooming). Apply a dedicated tire cleaner, let it dwell for 30–60 seconds, and scrub vigorously with a stiff-bristle brush. Multiple passes may be needed for heavily oxidized rubber.
Can I use dish soap to clean tires?
It’s not recommended. While dish soap will remove surface dirt, it also strips the protective compounds embedded in the rubber, which accelerates drying, cracking, and long-term dry rot. Use a dedicated tire cleaner instead.
What is the best homemade tire cleaner?
A mixture of warm water, a few drops of castile soap, and a tablespoon of baking soda makes a reasonable DIY solution for light cleaning. For white vinegar alternatives, dilute with equal parts water. However, these won’t match the effectiveness of a dedicated tire cleaner for removing oxidation and brake dust.
Why do my tires turn brown after cleaning?
This is tire blooming — antiozonants rising to the rubber surface and oxidizing. It’s a natural process built into the tire’s manufacturing. The best defense is regular deep cleaning combined with a UV-protective tire dressing that slows down the oxidation cycle.
Do I need a pressure washer to clean tires?
No — a standard garden hose works fine for most situations. A pressure washer simply speeds up the pre-rinse and final rinse stages and is especially helpful for removing heavy mud or road tar. The scrubbing stage is where the real cleaning happens regardless of water pressure.
Is it safe to use bleach on car tires?
No. Bleach is far too harsh for rubber and will degrade the sidewall compounds, leading to premature cracking and dry rot. Stick to products specifically formulated for tire rubber.
Final Thoughts: Clean Tires Are a Game-Changer
Learning how to deep clean your tires at home is one of the simplest, highest-impact car care skills you can develop. The process takes under an hour, costs a fraction of a professional detail, and the visual improvement is immediate and dramatic.
The key takeaways: use a dedicated tire cleaner, always scrub with a stiff brush, work in the shade, and finish with a UV-protective tire dressing to lock in that deep black finish and slow down future oxidation.
Make it a habit every 2 to 4 weeks, and your tires will look professionally detailed year-round.
Ready to get started?
👉 [Check out our recommended tire cleaner – HOLLEY TIRE DEGREASER & DRESSING]
👉 [Grab the best tire brush for deep cleaning – STIFF BRISTLE TIRE BRUSH]
👉 [Protect your results with a long-lasting tire dressing – CHEMICAL GUYS TIRE KICKER]
Have questions about tire cleaning or detailing? Drop them in the comments below — we’d love to help.