You scrub your hood until it gleams, polish the windows until they disappear, and vacuum every crumb from the interior — then you drive away on four filthy, brown-stained tires that undo all of it in seconds. Sound familiar?
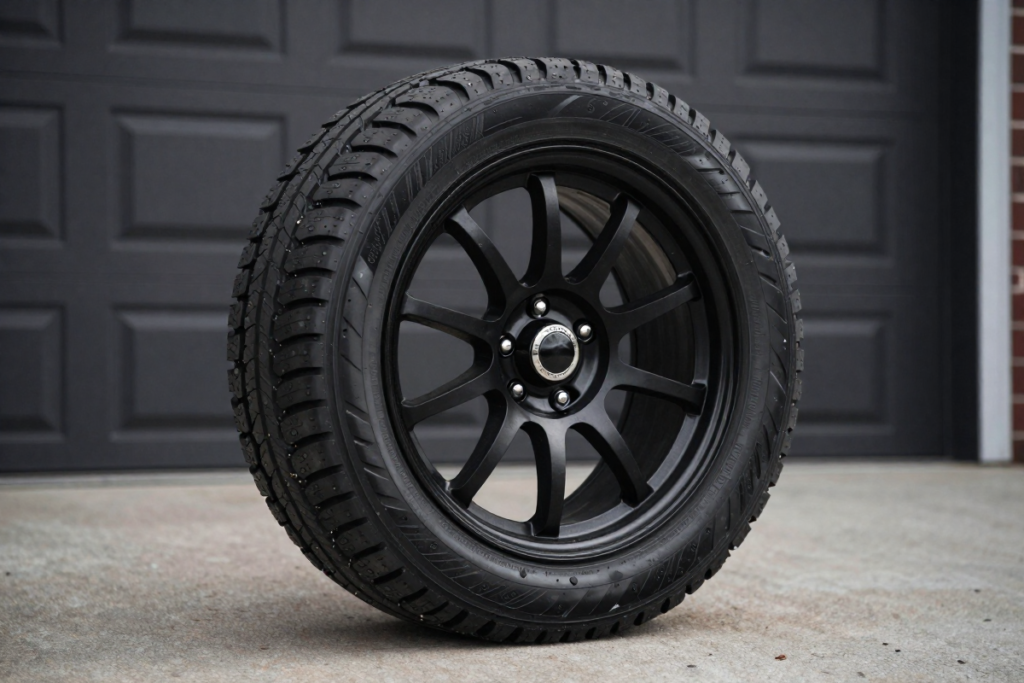
Most car owners treat tire cleaning as an afterthought, but here’s the truth: your tires are one of the first things people notice about your car. Clean, dark, well-maintained tires can make an average car look sharp. Neglected tires can make an expensive car look abandoned.
Beyond curb appeal, there are real, practical reasons to keep your tires clean. Brake dust, road grime, oil, and salt accumulate on rubber over time, accelerating oxidation and sidewall cracking. Regular cleaning removes these contaminants before they cause lasting damage, which means longer tire life and a safer ride.
The good news? Learning how to clean car tires at home is easier than most people think, and it costs a fraction of what a professional detailing service would charge. Whether you want a full DIY tire cleaning routine or a quick weekend refresh using household products, this step-by-step guide covers everything you need — the right tools, the best homemade tire cleaner recipes, how to apply tire shine, and the most common mistakes to avoid.
Let’s get your tires looking brand new.
Why Cleaning Your Tires Actually Matters
Before diving into the how-to, it’s worth understanding why tire cleaning deserves a permanent spot in your car care routine.
Brake dust is corrosive. Every time you hit the brakes, tiny metallic particles from your brake pads mix with road grime and bond to your tires and wheels. Left alone, this buildup becomes increasingly difficult to remove and can etch into rubber over time.
Road grime, salt, and oil break down rubber. If you live somewhere with winter road salt or rainy conditions, your tires are constantly exposed to chemicals that accelerate rubber degradation. Regular washing removes these before they set.
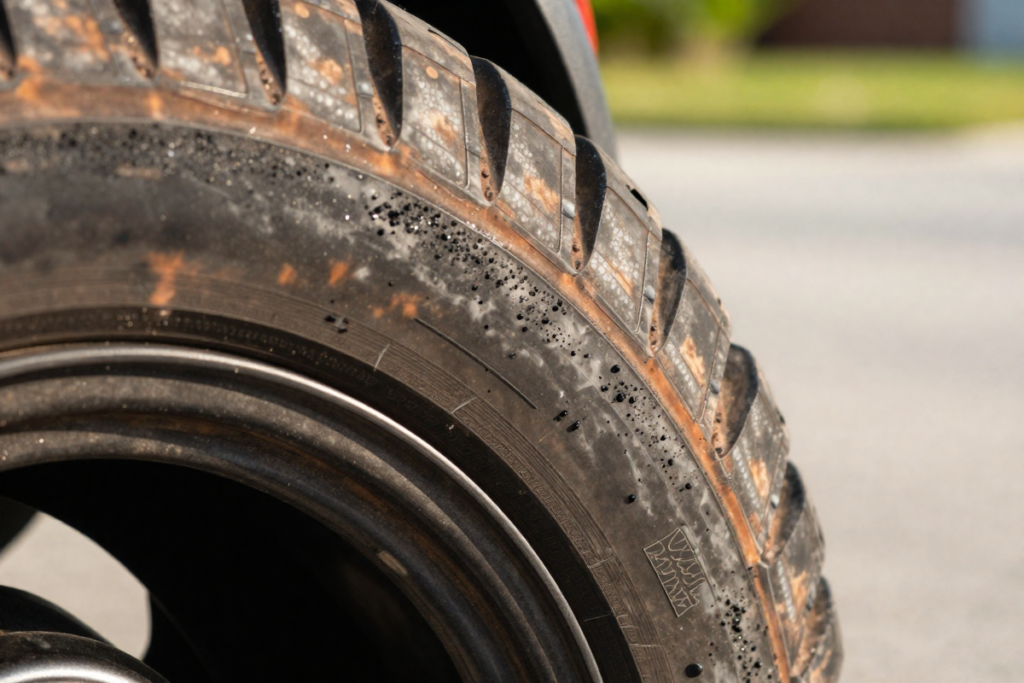
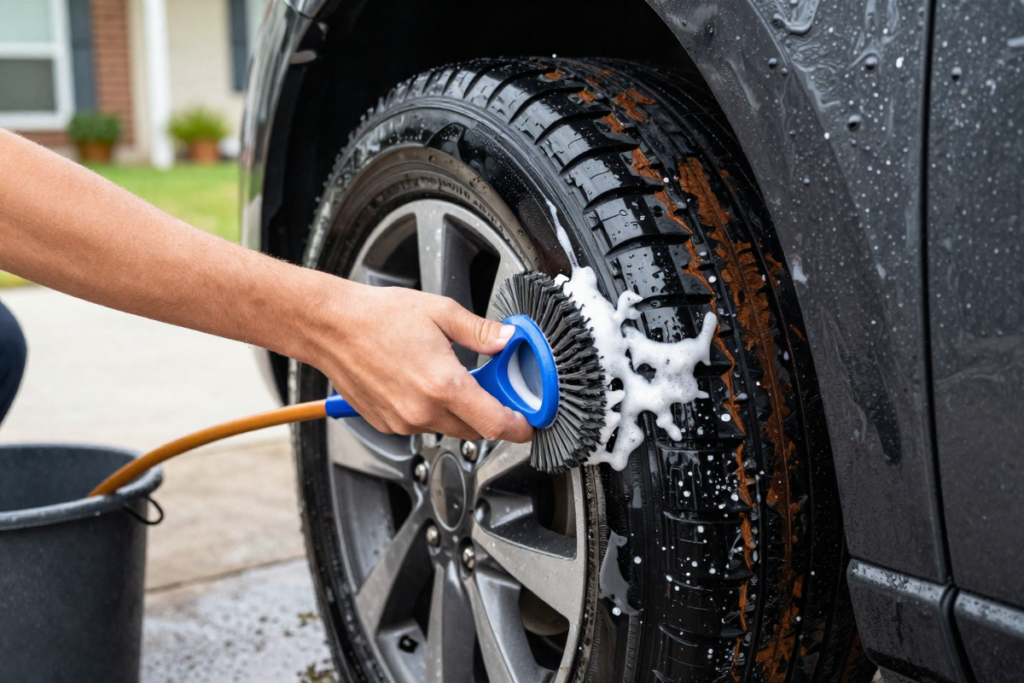
Tire sidewall cracking and fading are preventable. UV damage and oxidation cause tires to fade from deep black to a dull, brownish-gray. You may have noticed your tires turning brown shortly after cleaning — this is a process called antiozonant migration (also called tire blooming), where protective chemicals inside the rubber rise to the surface. While it’s a sign of a healthy tire, it looks unattractive. Proper cleaning and a quality tire protectant keep this under control.
Clean tires improve resale value. Car buyers notice details. A set of clean, shiny tires signals that a vehicle has been well maintained, and can meaningfully impact first impressions during a sale.
Tools and Materials You’ll Need
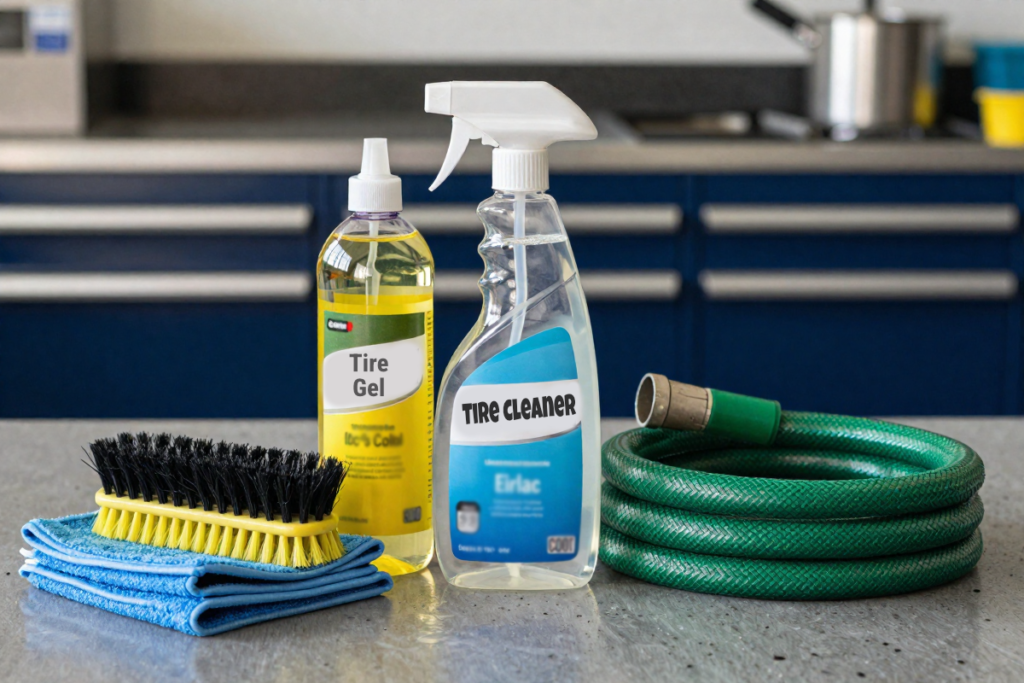
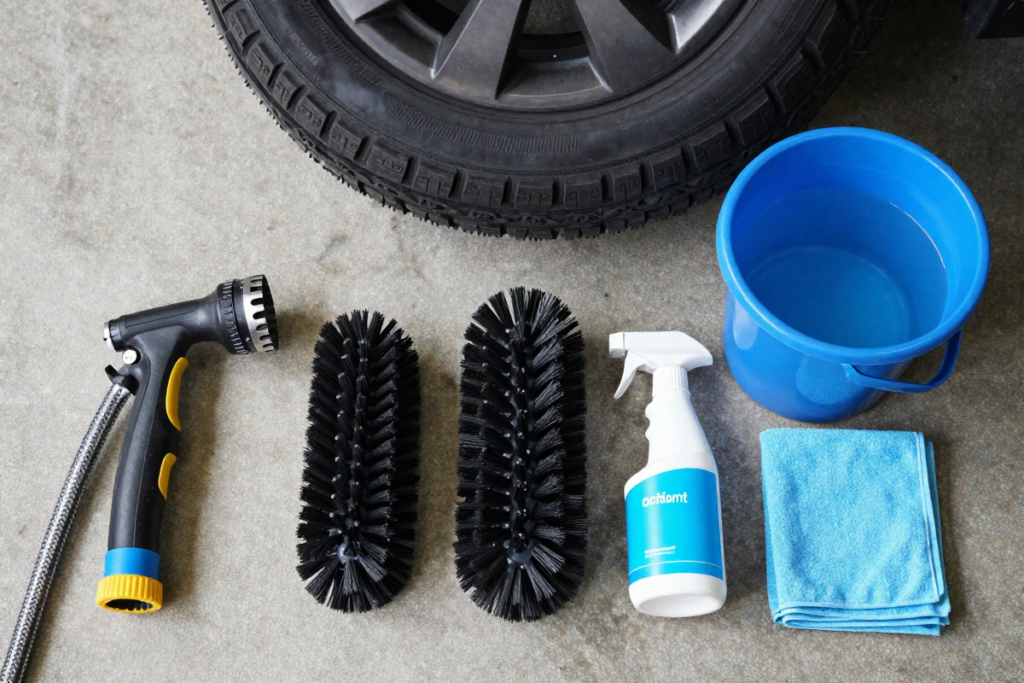
You don’t need a professional detailing kit to get great results. Here’s what to gather before you start your DIY tire cleaning session:
Essential Tools:
- Garden hose with a spray nozzle or pressure washer
- Stiff-bristle nylon tire brush (==>> Best Tire Cleaning Brush)
- Separate wheel brush for rims and tight spots (==>> Best Wheel Brush Set)
- Bucket of water
- Microfiber towels (==>> Best Microfiber Towel Pack)
Cleaning Products:
- Dedicated tire cleaner spray (==>> Best Tire Cleaner for Beginners)
- Automotive degreaser for heavy buildup (==>> Best Professional-Grade Degreaser)
- Tire shine or tire dressing (optional but recommended) (==>> Best Tire Shine Product)
Budget-Friendly DIY Alternatives:
- Baking soda + dish soap + warm water
- White vinegar diluted with water
- Dawn dish soap alone
Pro Tip: Always use a dedicated tire brush — not the same brush you use on your paint or rims. Cross-contamination can scratch delicate surfaces and spread brake dust where you don’t want it.
Step-by-Step Guide: How to Clean Car Tires at Home
Step 1: Park and Prep Your Vehicle
Park on a flat, stable surface — your driveway works perfectly. Make sure your tires are cool to the touch before you begin. Hot rubber is more porous, which means cleaning chemicals absorb too quickly, making them harder to rinse off and potentially causing streaking or uneven results.
Gather all of your supplies before you start so you can move efficiently from tire to tire without stopping.
Step 2: Rinse Off Loose Dirt and Debris
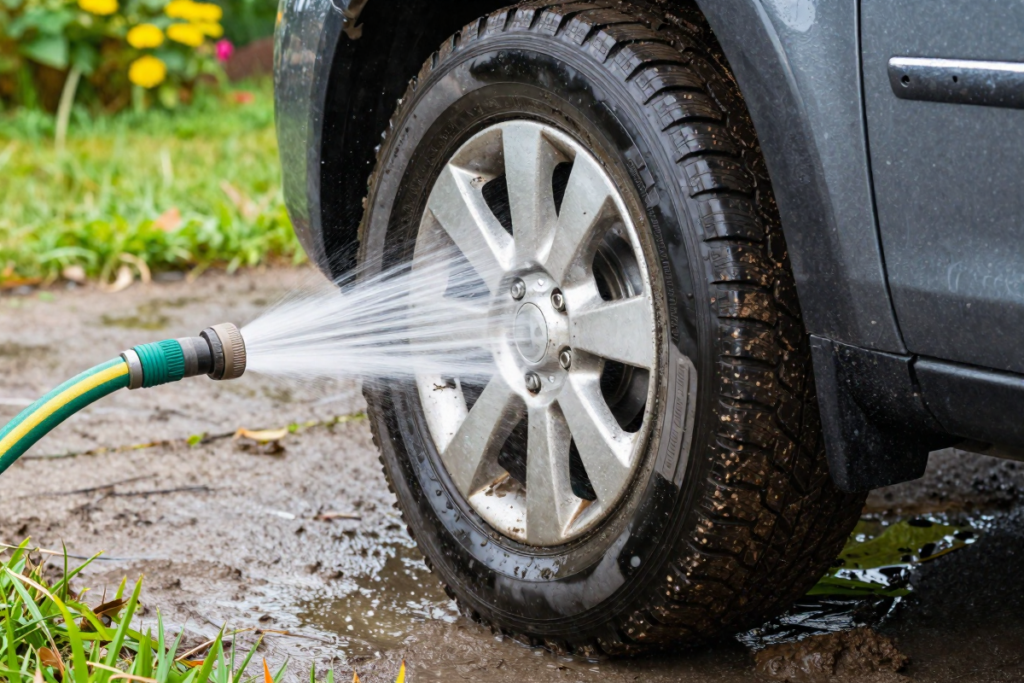
Using your garden hose or pressure washer, give each tire a thorough rinse. Work from top to bottom, flushing away loose mud, dust, and road debris before applying any cleaner.
This pre-rinse step is important — scrubbing a dry, dirty tire grinds abrasive particles into the rubber, which can cause micro-scratches over time. A good rinse first makes the actual scrubbing far more effective.
Pressure Washer Note: Yes, it’s safe to pressure wash tires — just keep the nozzle at least 6–8 inches away from the rubber and avoid directing high-pressure water into the tire valve stem.
[RECOMMENDED – Electric Pressure Washer]
Step 3: Apply Tire Cleaner or Degreaser
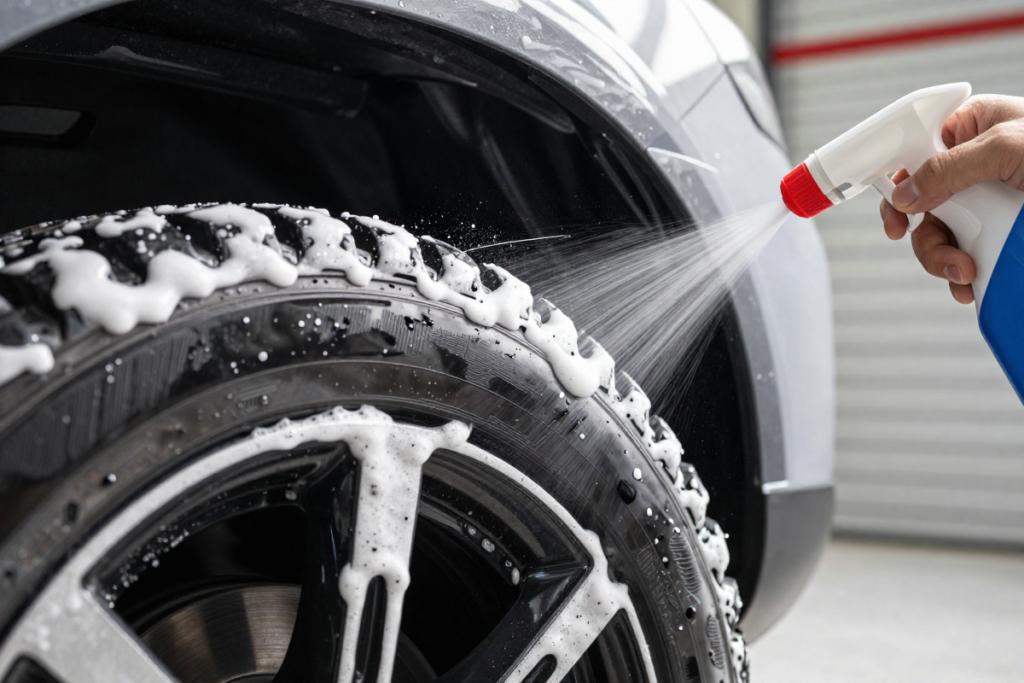
Spray your tire cleaner or degreaser evenly across the entire tire sidewall, working around the full circumference. Don’t forget the inner shoulder and tread grooves if accessible.
Let the product dwell for 2–5 minutes. This gives the cleaning agents time to break down brake dust, road grime, grease, and oxidized rubber. Don’t let it dry completely — if you’re working in direct sunlight or heat, work one tire at a time.
For an eco-friendly option, look for biodegradable, pH-neutral tire cleaners that won’t harm your driveway, lawn, or nearby plants when they rinse off. (==>> Best Eco-Friendly Tire Cleaner)
Step 4: Scrub the Tires Thoroughly
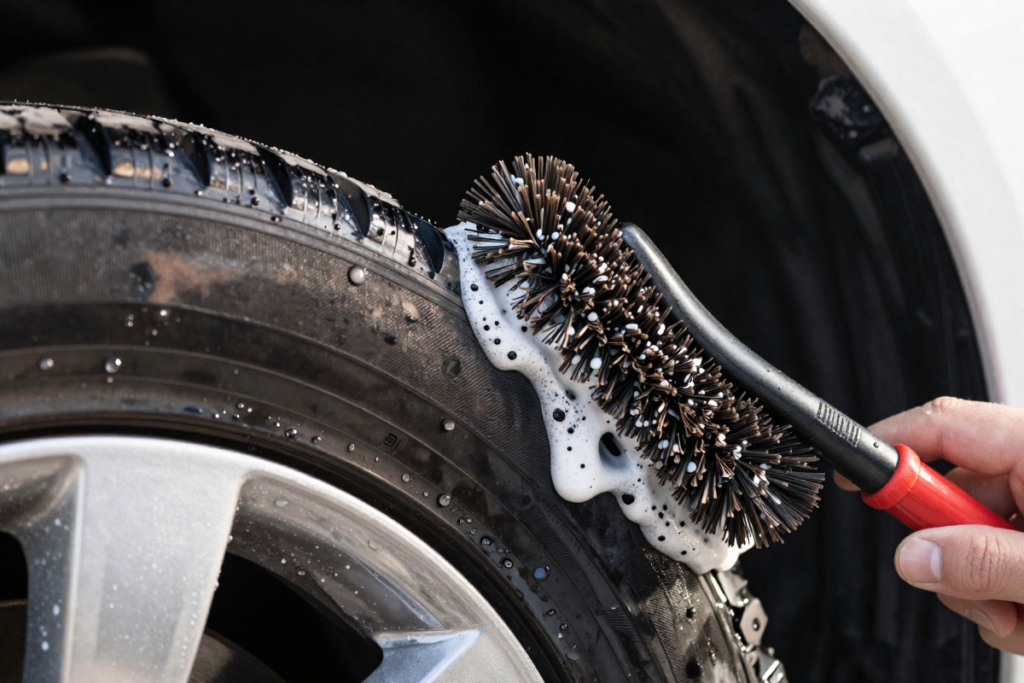
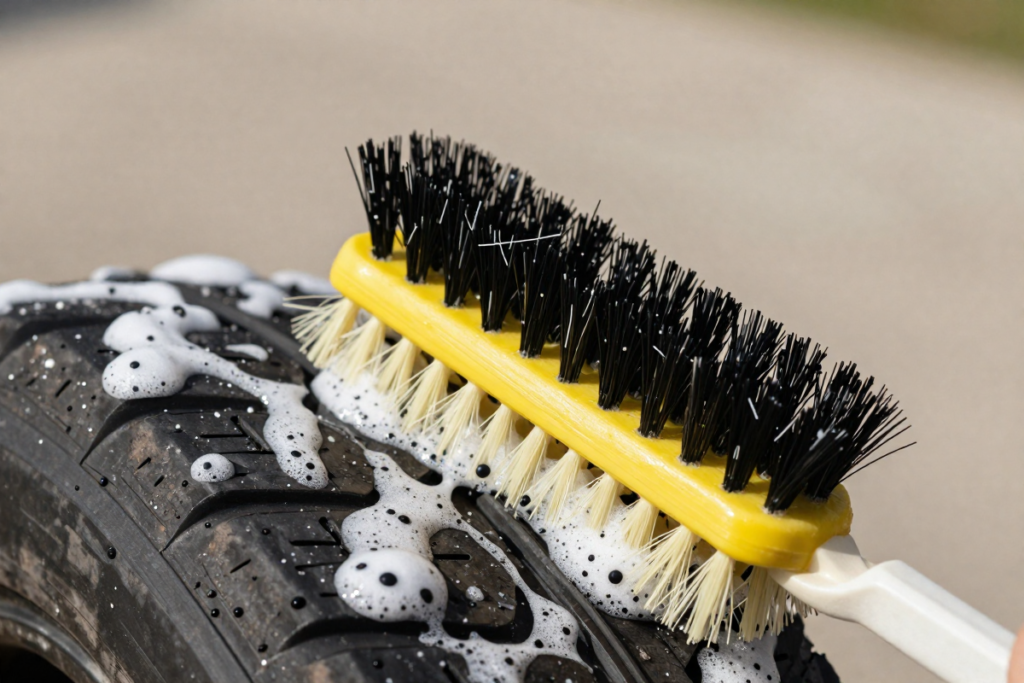
This is where the real work happens. Using your stiff-bristle nylon brush, scrub the entire tire sidewall using firm circular motions. Pay extra attention to:
- The sidewall lettering where grime tends to collect
- The upper and lower bead areas near the rim
- The tread grooves if accessible from outside
Apply firm but controlled pressure. If you’re dealing with heavy buildup, brown staining, or old tire dressing residue, you may need to repeat this step with a fresh application of cleaner before rinsing.
On Tire Blooming (Brown Tires): If your tires keep turning brown after cleaning, it’s likely antiozonant blooming — a natural chemical process. Using a water-based tire dressing after cleaning (rather than a solvent-based one) helps reduce this effect over time by not drawing out the antiozonants as aggressively.
Step 5: Clean the Wheel Area (Highly Recommended)
While your cleaner is working on the tires, take a moment to hit the rims with a dedicated wheel brush (Best Wheel Brush Set). Brake dust clings heavily to wheels, and cleaning them alongside the tires gives you a complete, cohesive result.
Use a smaller detail brush to get into lug nut recesses and tight spoke gaps. For this step, a non-acidic wheel cleaner is the safest choice — acidic formulas can damage certain wheel finishes, particularly polished aluminum.
Step 6: Rinse Thoroughly
Rinse each tire completely, making sure all cleaner, loosened grime, and degreaser residue is fully removed. Work methodically around the entire tire and check for any missed spots or remaining brown staining.
A clean rinse is critical before applying any tire dressing — residue trapped under tire shine will look uneven and won’t adhere properly.
Step 7: Dry the Tires Completely
Use a clean microfiber towel to dry each tire before applying protectant or tire shine. This prevents water spots, streaking, and dilution of any product you apply next.
Don’t skip this step — even if you’re in a hurry. Wet tire dressing application is one of the most common causes of sling (product flinging off the tire while driving) and blotchy, uneven finishes.
How to Apply Tire Shine for a Like-New Look
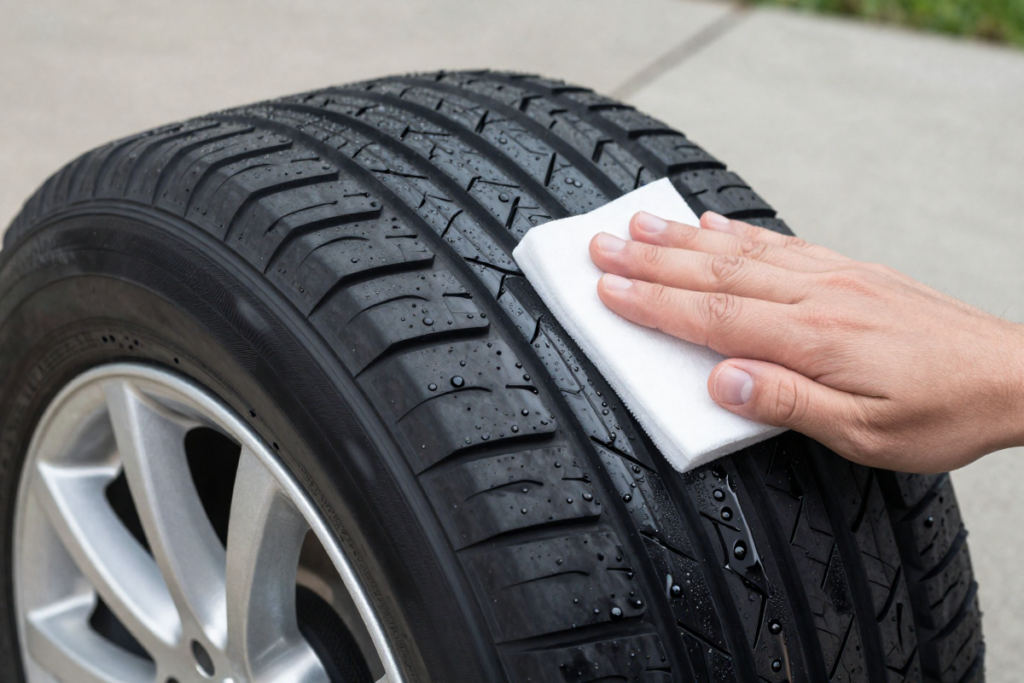
Tire shine is optional, but it makes a dramatic visual difference and provides UV protection that slows future fading and cracking. Here’s what you need to know:
Two Main Types of Tire Shine:
| Type | Finish | Best For |
|---|---|---|
| Water-based | Natural, matte-satin | Daily drivers, a clean OEM look |
| Silicone-based | High gloss, wet look | Show cars, max visual impact |
Water-based formulas are generally preferred for long-term rubber health since silicone-based products can occasionally accelerate antiozonant migration over repeated use.
Application Steps:
- Apply a small amount of tire shine to a foam applicator pad (Best Foam Applicator Pad)
- Spread in thin, even strokes across the sidewall only — avoid the tread area entirely
- Allow to absorb for 5–10 minutes before moving the vehicle
- Wipe away any excess with a clean microfiber cloth
Safety Note: Never apply tire shine to the tread surface. It creates a dangerously slippery contact patch and is a significant road hazard. Sidewalls only, always.
DIY Homemade Tire Cleaning Solutions
Don’t have a commercial tire cleaner on hand? These household solutions work surprisingly well and cost almost nothing.
Baking Soda Method
Mix 2–3 tablespoons of baking soda with a squirt of dish soap and enough warm water to form a thin paste. Apply directly to the tire and scrub with your brush. The baking soda acts as a gentle abrasive, making this ideal for light surface dirt and mild browning.
Dish Soap Solution
A few tablespoons of Dawn (or any grease-cutting dish soap) in a bucket of warm water is one of the most effective and budget-friendly tire cleaners available. It cuts through road grease and grime effectively and rinses cleanly. Best for regular maintenance cleaning between deeper sessions.
White Vinegar-Based Cleaner
Mix equal parts white vinegar and water in a spray bottle. This mild acidic solution works well for light grime and helps neutralize some mineral deposits from road salt. It’s a solid eco-friendly option, though it’s less effective on heavy brake dust or deep staining than a dedicated cleaner.
What NOT to use: Bleach, steel wool, or abrasive household scrubbers. Bleach degrades rubber compounds over time and can cause premature cracking. Abrasive pads strip the protective surface layer from tire sidewalls. Stick to the solutions above for safe, effective cleaning.
Common Tire Cleaning Mistakes to Avoid
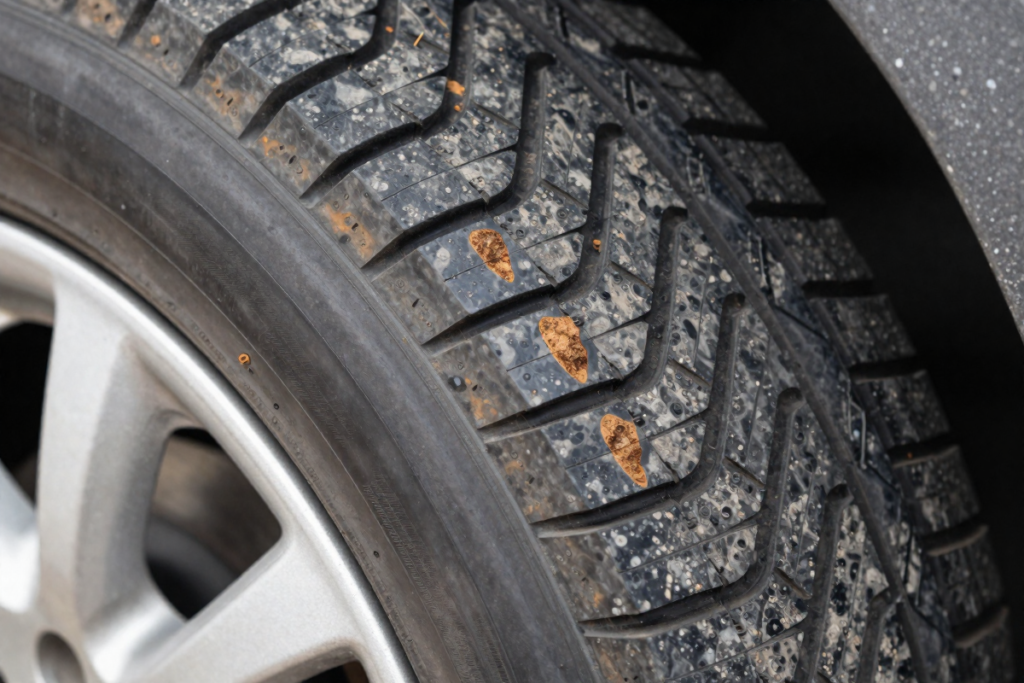
Even well-intentioned car owners make these errors. Here’s what to watch out for:
- Cleaning hot tires — Always let tires cool before applying any chemical cleaner
- Using the same brush on tires and paint — Cross-contamination can scratch your clear coat
- Skipping the pre-rinse — Scrubbing dry, dirty tires causes micro-abrasion damage
- Overapplying tire shine — More product doesn’t equal better results; thin coats adhere better and last longer
- Ignoring tire sidewalls — The sidewall is the most visible part of the tire and the area most prone to UV damage and cracking; never skip it
- Using solvent-based dressings repeatedly — These can accelerate tire blooming over time
Pro Tips for Longer-Lasting Clean Tires
- Clean tires every 2–3 weeks as part of your regular car washing routine — it’s far easier to maintain clean tires than to deep-clean neglected ones
- Apply a UV-protective tire dressing after every cleaning session to slow oxidation and fading
- Park in shaded areas when possible — prolonged sun exposure accelerates both tire browning and rubber degradation
- Use dedicated tire brushes and label them so you never accidentally grab the wrong one
- Consider a tire sealant or conditioner for older tires showing signs of oxidation — these products penetrate the rubber to condition from within (Best Tire Conditioner/Sealant)
Recommended Products at a Glance
(Affiliate links — update with your links before publishing)
| Product Category | Recommended Pick | Best For |
|---|---|---|
| Tire Cleaner Spray | CAR GUYS Super Cleaner | Beginners and regular use |
| Professional Degreaser | Holley Tire Shine | Heavy buildup, neglected tires |
| Stiff Tire Brush | Tire Brush for Cleaning | Effective sidewall scrubbing |
| Wheel Brush Set | 9Pcs Wheel & Tire Brush Kit | Rims and tight spoke areas |
| Microfiber Towel Pack | Chemical Guys Set | Drying and product application |
| Electric Pressure Washer | Westinghouse ePX3500 | Great for Automobiles |
| High-Gloss Tire Shine | Chemical Guys Tire Kicker | Show-quality wet look |
| Microfiber Applicator Pads | FONAROLL Microfiber Pads | Precise tire shine application |
| Tire Conditioner | Aero Cosmetics | Older/oxidized tires |
Frequently Asked Questions
How often should I clean my car tires?
Every 2–3 weeks is ideal for most drivers. If you live in a region with heavy road salt, mud, or frequent rain, consider cleaning them weekly. Regular maintenance cleaning is much faster and easier than occasional deep cleaning of badly neglected tires.
Can I use dish soap on tires?
Yes — dish soap is one of the best budget-friendly options for DIY tire cleaning. A grease-cutting formula like Dawn effectively removes road grime and light brake dust. Just avoid using it repeatedly on your painted surfaces or trim, as it can strip wax.
Do I need tire shine?
You don’t need it, but it significantly improves appearance and adds UV protection that slows fading, browning, and sidewall cracking. If you want your tires to look new longer, a water-based tire dressing is worth adding to your routine.
Is pressure washing safe for tires?
Yes, with appropriate technique. Keep the nozzle 6–8 inches from the tire surface, use a wide fan spray rather than a pinpoint jet, and avoid directing high-pressure water into the valve stem or between the tire bead and rim.
What’s the best homemade tire cleaner?
A mix of dish soap, baking soda, and warm water is the most effective and versatile homemade option. For a spray solution, equal parts white vinegar and water works well for light maintenance. For heavy buildup, a commercial degreaser is your best bet.
Why do my tires keep turning brown after I clean them?
This is called tire blooming — a natural process where antiozonant chemicals (added by manufacturers to protect rubber from ozone cracking) migrate to the tire surface and oxidize, creating a brown tinge. It’s not harmful, but it’s cosmetically annoying. Using a water-based tire dressing after each cleaning session helps slow the process significantly.
Conclusion

Knowing how to clean car tires at home is one of the simplest, highest-impact car care skills you can develop. The process takes less than 30 minutes, requires no professional equipment, and delivers results that dramatically improve how your entire vehicle looks and wears over time.
To recap: rinse first, apply cleaner and let it dwell, scrub thoroughly with a dedicated tire brush, clean the wheels while you’re at it, rinse completely, dry, and finish with a quality tire dressing for protection and shine. Do it every few weeks, use the right tools, and avoid the common mistakes — and your tires will stay cleaner, longer, with far less effort.
The difference between a car that looks well-maintained and one that doesn’t often comes down to the details. Clean tires are one of the easiest details to get right.
Ready to get started? Check out the recommended products above to build your home tire detailing kit — and check out our related guides on [Can You Fix Car Paint Chips Yourself? DIY Guide to Touch-Ups] and [How to Wax a Car by Hand: Step-by-Step Guide for a Showroom Shine] for more ways to level up your car care routine.
Disclaimer: This article contains affiliate links. If you purchase an item through the link I will earn a small commission at no extra cost to you.