
You’re driving down the highway, enjoying the ride, when suddenly—ping. A rogue piece of gravel kicked up by a semi-truck strikes your hood. You pull over, heart sinking, to inspect the damage. There it is: a tiny, jagged white spot where your pristine paint used to be.
It’s a universal car owner experience. But before you freak out and punch out the nearest mailbox or rush to book a $500 appointment at a body shop, take a deep breath. The question on every driver’s mind is simple: Can you fix car paint chips yourself?
The short answer is a resounding yes. With the right tools, a bit of patience, and the correct technique, you can perform a DIY car paint chip repair that looks professional and protects your vehicle from rust.
In this comprehensive guide, we will walk you through exactly how to fix paint chips on car surfaces, from finding your paint code to blending the final coat. Whether you are dealing with a minor scratch or a deep chip down to the metal, this guide will help you restore your vehicle’s finish without breaking the bank.
II. What Causes Car Paint Chips?
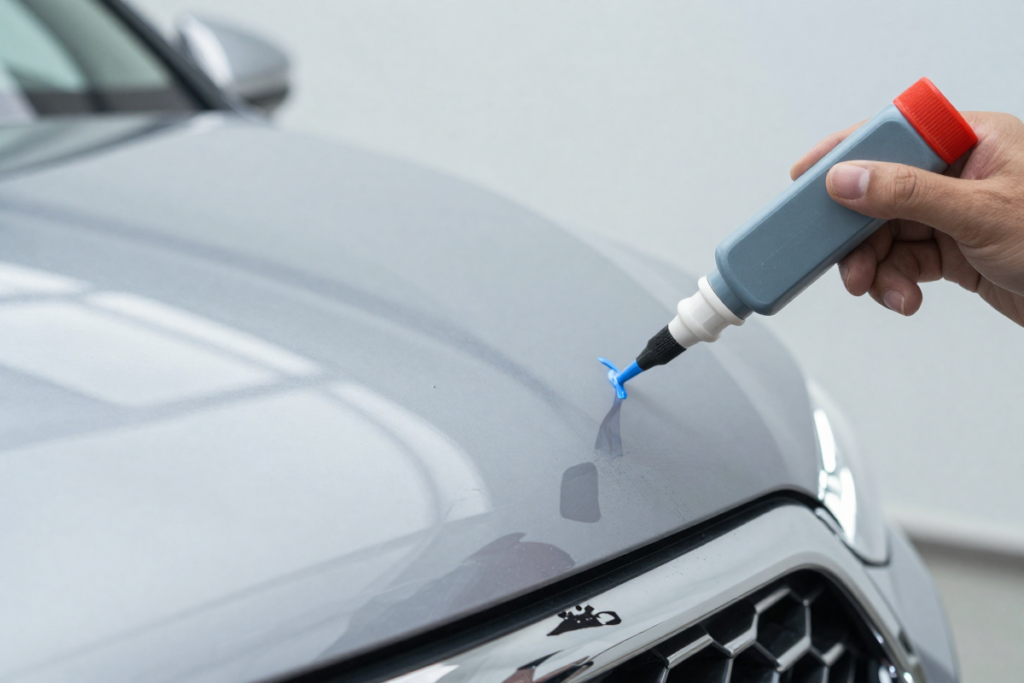
Before we dive into the repair, it helps to understand the enemy. Car paint chip repair isn’t just about cosmetics; it’s about fighting the elements.
- Road Debris: The most common culprit. Rocks, gravel, and road salt kicked up by tires act like sandblasters on your front bumper and hood.
- Weather Exposure: Extreme heat, freezing temperatures, and UV rays can make paint brittle, causing it to flake or chip more easily upon impact.
- Improper Washing: Using dirty sponges or automatic car washes with stiff brushes can create micro-scratches that weaken the clear coat, leading to chipping.
- Daily Wear and Tear: Parking lot dings, shopping cart impacts, and door edges all contribute to auto paint blemish fix scenarios.
Ignoring these chips isn’t an option. Once the clear coat and base coat are breached, moisture reaches the metal underneath, leading to rust. Rust spreads like a cancer under the paint, turning a $20 fix into a $2,000 panel replacement.
III. Can You Really Fix Car Paint Chips Yourself?
Let’s be honest: Is it hard to touch up car paint yourself? It requires a steady hand, but it is not rocket science.
Types of Chips You Can Fix
- Small Surface Chips: These are superficial and only affect the clear coat or the very top layer of base coat.
- Minor Scratches with Paint Loss: If the scratch is narrow (like a keying or a branch scrape) and hasn’t dented the metal, it is perfect for DIY methods for repairing chipped automotive paint.
- Rock Chips: The classic “bug splat” size chips on the hood are the easiest to fix.
When DIY Might Not Be Enough
- Deep Chips Exposing Large Areas of Metal: If the metal is bent or the chip is larger than a quarter, a professional might be needed to fill the dent first.
- Rust Already Forming: If you see orange bubbling, you need to treat the rust chemically before painting.
- Specialty Paints: Tri-coat pearls or matte finishes are notoriously difficult to blend invisibly without professional equipment.
Cost Comparison: DIY vs. Professional
- DIY Cost: A high-quality car paint repair kit costs between $20 and $60.
- Professional Cost: A body shop will typically charge $150 to $500 per panel, or even more for luxury vehicles.
IV. Tools and Materials You’ll Need
To achieve a seamless vehicle finish restoration, you need the right gear. You cannot simply dab paint on with a toothpick and expect perfection.
Essential Tools
- Touch-Up Paint (OEM Color Match): This is critical. Generic “silver” paint will not match your “Sterling Silver Metallic.”
- Primer: Essential for chips that have gone down to the bare metal or plastic. It helps the paint adhere and prevents rust.
- Clear Coat: This provides the gloss and protection. Without it, your repair will look dull and flat.
- Fine-Tip Applicators or Brushes: Most kits come with a brush, but a fine-tip brush or even a syringe offers more precision.
- Microfiber Cloths: For cleaning and buffing.
- Sandpaper: You will need various grits, specifically 2000-grit and 3000-grit wet sandpaper.
Optional but Helpful
- Paint Leveling Solution: Helps flatten the repair so it doesn’t look like a raised bump.
- Polishing Compound: To blend the repair into the surrounding area.
- Dual-Action Polisher: For the final buff (optional for small chips).
[Best All-in-One Car Paint Chip Repair Kit for Beginners]
[Premium OEM Match Touch-Up Paint Finder]
[High-Grit Wet Sandpaper Assortment]
V. How to Find Your Car’s Paint Code
The number one reason DIY repairs fail is poor color matching. You need automotive color matching precision.
Your paint code is not your VIN. It is a specific alphanumeric code usually found on a sticker or plate in one of these locations:
- Driver’s Side Door Jamb: Look for a sticker with tire pressure info; the paint code is often labeled “C/TR” or “Paint.”
- Under the Hood: Sometimes located on the firewall or strut tower.
- Glove Box or Trunk: Common in European cars like BMW or Mercedes.
Once you have the code (e.g., “NH-731P” for Honda Crystal Black Pearl), search for OEM touch up paint using that specific code. Do not guess the color name.
VI. Step-by-Step Guide to Fixing Car Paint Chips
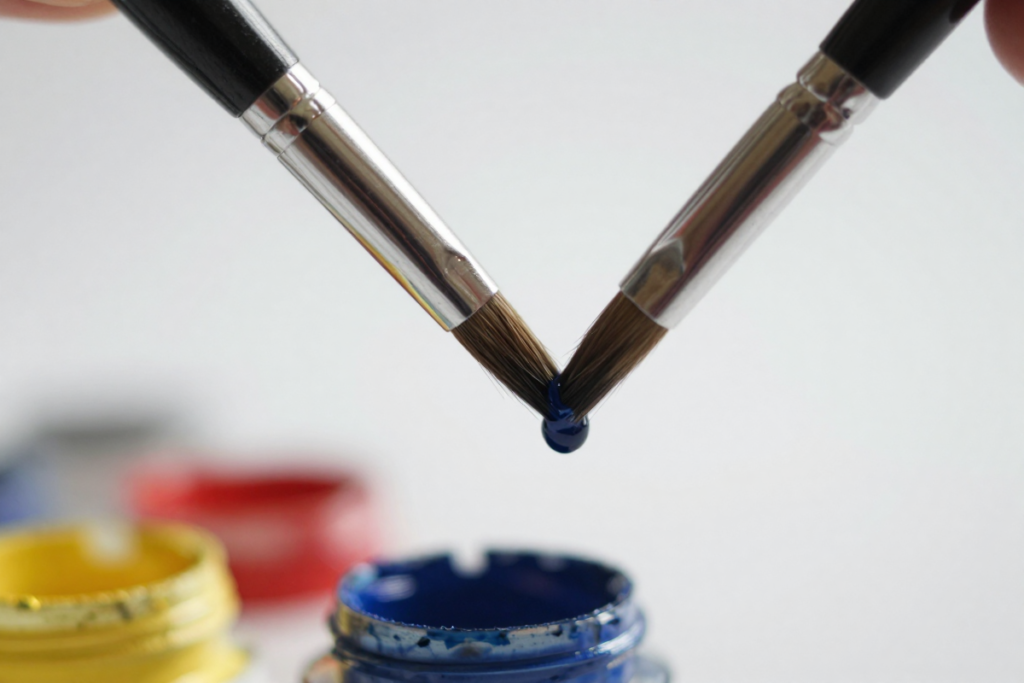
Ready to learn how to fix paint chips on car hood and other panels? Follow this step-by-step guide to fixing auto paint damage.
Step 1: Clean the Area Thoroughly
You cannot paint over dirt. Wash the area with car soap and water. Then, use an alcohol wipe or wax and grease remover to ensure the surface is completely sterile. Any wax residue will prevent the paint from sticking.
Step 2: Assess the Damage
Look closely at the chip.
- Clear Coat Only? You might just need a polish.
- Base Coat/Metal Exposed? You need primer and paint.
- Plastic Bumper? You need a flexible primer designed for plastic.
Step 3: Sand the Chip (If Necessary)
If the edges of the chip are jagged or peeling, use a piece of fine sandpaper (around 1000-grit) wrapped around a toothpick to gently smooth the edges. This is called “feathering.” It helps the new paint blend in. Be careful not to sand the surrounding good paint.
Step 4: Apply Primer (For Deep Chips)
If you see bare metal or black plastic, apply a tiny drop of primer.
- Tip: Use a toothpick to dab the primer only inside the chip.
- Drying Time: Let it dry for at least 30 minutes, or according to the bottle instructions.
Step 5: Apply Touch-Up Paint
This is where patience pays off. Apply thin coats of touch-up paint.
- Do not try to fill the chip in one go. It will blob and run.
- Dip your brush (or use the applicator) and place a tiny drop in the center of the chip. Capillary action will pull the paint into the crevice.
- Let it dry for 15-20 minutes.
- Repeat this process 3 to 5 times until the paint is slightly higher than the surrounding surface (it will shrink as it cures).
Step 6: Add Clear Coat
Once the base coat is level and dry, apply the clear coat using the same dabbing method. This seals the repair and adds shine. Apply 2-3 thin layers.
Step 7: Level and Polish (The Secret to Invisibility)
After the clear coat has cured for at least 24 hours (48 is better), the repair might feel like a raised bump.
- Wet Sanding: Soak 2000-grit sandpaper in water. Gently sand the raised paint chip until it is flush with the surrounding panel. Be extremely gentle.
- Buffing: Apply a small amount of rubbing compound or polishing compound to a microfiber cloth. Rub the area in circular motions to remove the sanding marks and restore the gloss.
[Professional Grade Polishing Compound]
[ScratchX by Meguiar’s for Final Blending]
VII. Common Mistakes to Avoid
Even with the best car paint chip filler, things can go wrong if you rush.
- Using Too Much Paint: This creates a “fingernail catch” bump that is impossible to hide. Less is more.
- Skipping Prep Work: Painting over wax or dirt guarantees the paint will peel off in a few weeks.
- Not Allowing Proper Drying Time: Automotive paint cures chemically. If you layer too fast, solvents get trapped, causing bubbling.
- Choosing the Wrong Color Match: As mentioned, always use the paint code.
- Over-Sanding: Sanding through the clear coat of the surrounding area will ruin the panel and require a full repaint.
VIII. Pro Tips for a Seamless Finish
Want your repair to look like it came from the factory? Use these pro tips.
- Work in a Controlled Environment: Do not paint outside on a windy or dusty day. Dust settling on wet paint ruins the finish. A garage is ideal.
- Temperature Matters: Paint flows best between 60°F and 80°F. Cold paint is thick and globs; hot paint dries too fast.
- The “Dot” Technique: Instead of brushing back and forth, just touch the tip of the brush to the chip and lift.
- Practice First: If you are nervous, practice your dabbing technique on a piece of glass or metal before touching your car.
IX. How Long Does a DIY Paint Chip Repair Last?
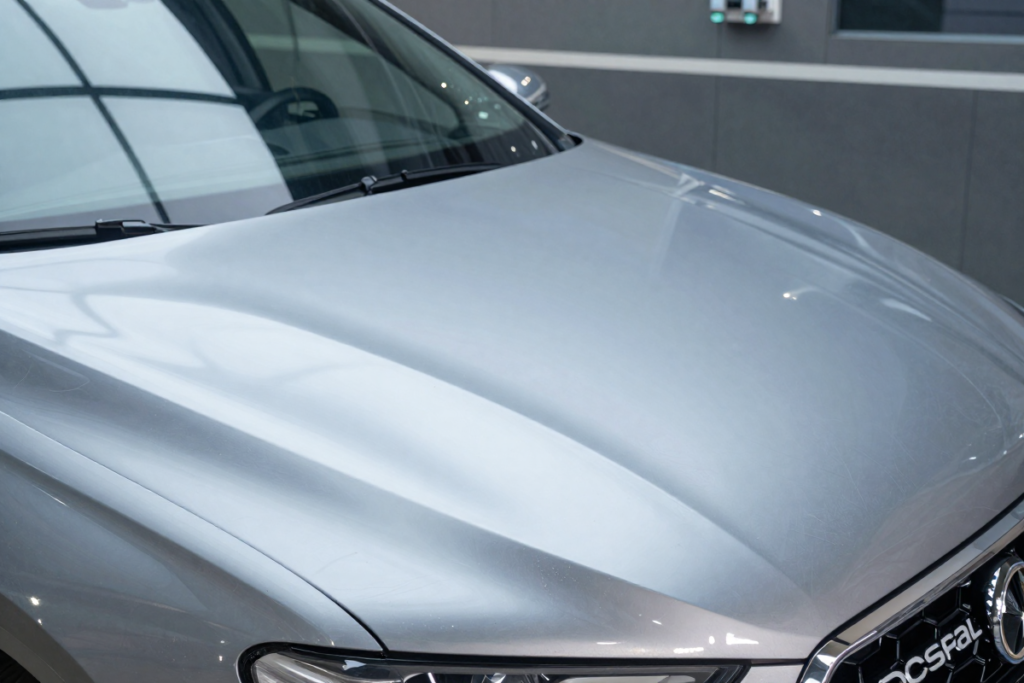
A common question is: How long does touch-up paint last on a car?
If done correctly with proper prep and clear coat, a DIY repair can last the lifetime of the vehicle. However, several factors affect longevity:
- UV Exposure: Cars parked outside constantly will see the repair fade faster.
- Washing Habits: Aggressive scrubbing can wear down the clear coat over the repair.
- Quality of Materials: Cheap hardware store paint will fade and peel faster than OEM-matched automotive paint.
Maintenance Tip: Apply a coat of wax or sealant over the repaired area after it has fully cured (about 30 days) to add an extra layer of protection.
X. When to Call a Professional Instead
While DIY car paint chip repair is cost-effective, there are times to call a pro.
- Large Damage: If the chip is larger than a quarter or involves a dent.
- Rust: If the metal is already corroded, you need professional rust treatment.
- Lease Returns: If you are returning a leased vehicle, inspection standards are strict. A professional repair ensures you don’t get hit with excessive wear-and-tear fees.
- High-End Vehicles: If you drive a Ferrari or a car with tri-coat pearl paint, the risk of a visible mismatch is high.
XI. DIY vs Professional Repair: Cost Breakdown
Let’s look at the numbers.
| Repair Type | Estimated Cost | Time Required | Durability |
|---|---|---|---|
| DIY Touch-Up | $20 – $60 (Kit) | 1 – 2 Hours (plus drying) | High (if done right) |
| Mobile Repair Tech | $100 – $200 per panel | 1 – 2 Hours | High |
| Body Shop | $300 – $800+ per panel | 2 – 4 Days | Very High |
For the average driver, the DIY vs Professional Repair decision comes down to perfectionism. If you want it 100% invisible from 0 feet away, go to a pro. If you want it to look 95% perfect from 5 feet away and stop the rust, DIY is the winner.
XII. Preventing Future Paint Chips
Once you’ve fixed your chips, you want to keep them away. How do you prevent paint chips on a new car?
- Paint Protection Film (PPF): This is a clear, urethane film applied to the hood and bumper. It absorbs rock impacts so your paint doesn’t have to. It is the gold standard for paint chip prevention.
- Ceramic Coatings: While they don’t stop rocks, they make the surface harder and easier to clean, reducing swirl marks.
- Safe Driving Habits: Increase following distance behind trucks and gravel vehicles.
- Proper Washing: Use the two-bucket method and high-quality microfiber towels to avoid inflicting self-damage.
[DIY Paint Protection Film Kits]
[Ceramic Coating Spray for Long-Term Protection]
XIII. Recommended Products
To help you get started, here are our top picks for the best car paint chip repair kit for beginners.
1. Best Overall Touch-Up Kit
[Dr. ColorChip Automotive Paint Chip Repair System]
- Why: Uses a unique leveling solution that makes blending incredibly easy for novices.
2. Best Budget Option
[Dupli-Color Scratch Fix 2-in-1]
- Why: Affordable and widely available at auto parts stores. Good for small nicks.
3. Best for Precision
[Affiliate Link: Langka Paint Chip Repair Kit]
- Why: Comes with a leveling solvent and detailed instructions for invisible repairs.
4. Essential Tools
[3M Wetordry Sandpaper Assortment]
[Chemical Guys Microfiber Towels]
XIV. FAQs
Here are answers to the most common questions about auto body paint repair.
1. Can touch-up paint make chips invisible?
It can make them nearly invisible from a normal viewing distance. However, up close, you may still see a slight texture difference unless you wet sand and polish perfectly.
2. How long should touch-up paint dry?
Touch-up paint feels dry in 30 minutes but needs 24 hours to cure before wet sanding. Full hardness takes about 30 days.
3. Do I need clear coat for small chips?
Yes. Without clear coat, the base coat will look dull and will not be protected from UV rays or washing.
4. Can I fix chips without sanding?
For very tiny chips, you can skip sanding. However, for a smooth finish, light sanding is recommended to feather the edges.
5. Will DIY repairs affect resale value?
Generally, no. In fact, fixing rust-prone chips increases value. A car with peeling paint and rust spots is worth less than a car with minor, well-done touch-ups.
6. Can I use nail polish to fix car paint chips?
Technically yes, but we don’t recommend it. Nail polish doesn’t bond well to automotive clear coat and will eventually peel or turn yellow. Use actual automotive paint.
7. How do you fix paint chips on a black car without it showing?
Black shows imperfections easily. Use multiple very thin layers and spend extra time polishing the clear coat to match the surrounding gloss.
8. Does fixing paint chips prevent rust?
Absolutely. The paint acts as a barrier. Sealing the exposed metal stops oxygen and water from causing oxidation.
XV. Conclusion
So, can you fix car paint chips yourself? Absolutely. It is a manageable weekend project that saves you hundreds of dollars and protects your investment from rust.
The key to success lies in preparation. Clean the area, find your exact paint code, and most importantly, be patient with the application. Remember, multiple thin layers are better than one thick glob.
Don’t let that tiny chip on your hood turn into a rust spot. Grab a car paint repair kit, follow this guide, and restore your car’s showroom shine today.
Ready to start? Check out our recommended [Top-Rated Touch-Up Paint Kits] to find the perfect match for your vehicle.
Have you tried fixing paint chips yourself? Share your before-and-after photos in the comments below!