1. Introduction
Let’s be honest—most people think they’re “cleaning” their car when they run it through a quick wash or give the interior a five-minute vacuum. But here’s the reality: that’s barely scratching the surface. True car deep cleaning goes far beyond surface-level dirt removal. It tackles the hidden grime lurking in your air vents, the stubborn stains embedded in your upholstery, the brake dust cemented to your wheels, and those mystery odors you can’t quite locate.
The problem? Without regular deep cleaning, dirt buildup doesn’t just make your car look bad—it causes long-term damage. Contaminants eat away at paint, UV rays crack untreated leather and plastics, and neglected carpets become breeding grounds for bacteria and allergens. Your car’s resale value takes a hit, and your daily driving experience suffers.
The good news? You don’t need to spend hundreds at a professional detailer to achieve showroom-quality results. With the right car deep cleaning checklist, proper tools, and a systematic approach, you can deep clean your car at home and restore it to like-new condition.
In this comprehensive guide, you’ll learn:
- The complete step-by-step process for interior and exterior deep cleaning
- Exactly which tools and products you need (and which ones are worth skipping)
- Professional detailing tips that deliver premium results
- How to avoid common mistakes that waste time and damage surfaces
Ready to transform your ride? Let’s dive into the ultimate car deep cleaning checklist.
2. What Is Car Deep Cleaning?
Before we get into the how-to, let’s clarify what we mean by “deep cleaning” and why it matters.
The Difference Between Basic Washing, Detailing, and Deep Cleaning
Basic Car Wash: A quick exterior wash that removes loose dirt and surface grime. Takes 15-30 minutes. Doesn’t address paint contaminants, interior issues, or protective treatments.
Car Detailing: A comprehensive service that restores and protects your vehicle inside and out. Includes deep cleaning plus paint correction, ceramic coatings, and premium protection treatments. Typically performed by professionals and can take 4-8+ hours.
Deep Cleaning: The middle ground—a thorough, methodical cleaning of all surfaces (interior and exterior) that removes embedded dirt, stains, and contaminants. More intensive than a basic wash but doesn’t include advanced correction or premium coatings. Perfect for DIY enthusiasts who want professional-level cleanliness.
Why Deep Cleaning Matters
Preserves Resale Value: A well-maintained interior and exterior can add thousands to your car’s resale or trade-in value. Buyers notice the difference between a superficially cleaned car and one that’s been meticulously cared for.
Improves Hygiene: Your car’s interior harbors more bacteria per square inch than a typical toilet seat. Deep cleaning eliminates allergens, dust mites, mold spores, and harmful microorganisms.
Protects Surfaces: Regular deep cleaning prevents permanent damage. Dirt particles act like sandpaper on paint. Oils from skin degrade leather. UV exposure cracks untreated plastics. Proper cleaning and conditioning extend the life of these expensive components.
How Often Should You Deep Clean Your Car?
- Every 3-6 months for most drivers
- Every 2-3 months if you have pets, kids, or drive in harsh conditions
- Seasonally (spring and fall) at minimum
- Before selling or trading in your vehicle
3. Complete Car Deep Cleaning Checklist Overview
Here’s your quick-reference checklist for a complete car deep clean. We’ll break down each step in detail throughout this guide:
Exterior:
- ✅ Pre-wash rinse to remove loose debris
- ✅ Foam wash with pH-balanced car shampoo
- ✅ Wheels and tires deep clean
- ✅ Bug, tar, and contaminant removal (clay bar treatment)
- ✅ Proper drying technique
- ✅ Paint protection (wax, sealant, or ceramic spray)
Interior:
- ✅ Complete decluttering
- ✅ Thorough vacuuming (seats, carpets, trunk, crevices)
- ✅ Carpet and floor mat shampooing
- ✅ Upholstery cleaning (fabric or leather treatment)
- ✅ Dashboard and console detailing
- ✅ Air vent and hard-to-reach area cleaning
- ✅ Odor elimination
Finishing Touches:
- ✅ Streak-free glass and mirror cleaning
- ✅ Final inspection and touch-ups
Now, let’s break it down step-by-step so you know exactly what to do.
4. Exterior Deep Cleaning Checklist
Your car’s exterior faces constant assault from road grime, industrial fallout, bird droppings, tree sap, UV rays, and environmental contaminants. Here’s how to properly deep clean and protect it.
4.1 Pre-Wash Rinse
Purpose: Remove loose dirt, sand, and debris that could scratch paint during washing.
How to do it:
- Start from the top and work downward
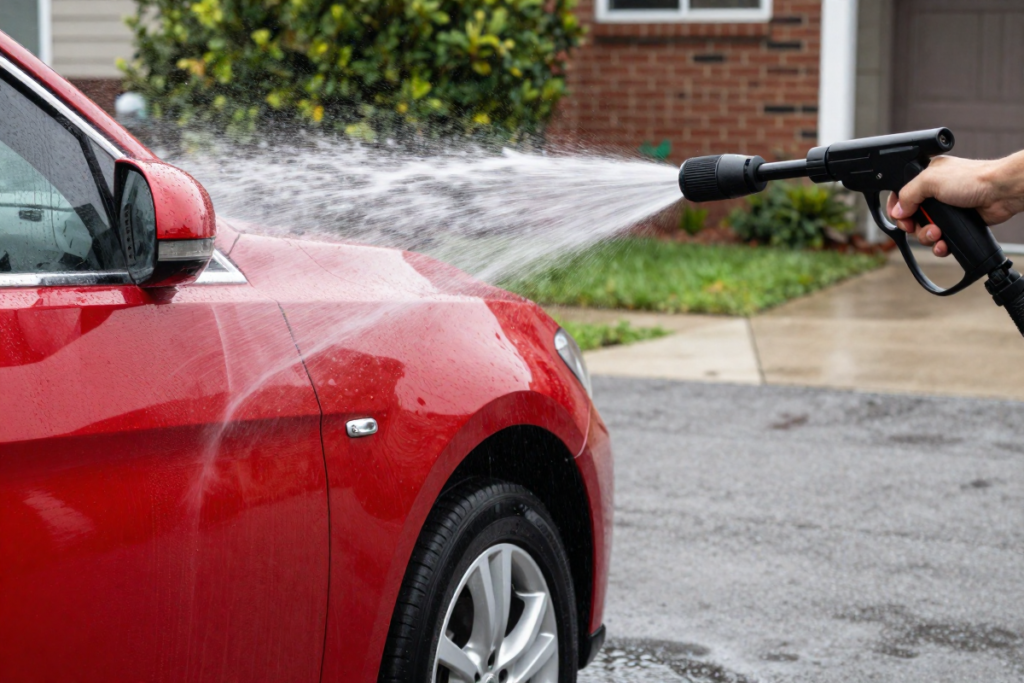
- Use a pressure washer (1,200-1,900 PSI) or strong garden hose
- Pay special attention to wheel wells, undercarriage, and lower panels where dirt accumulates
- Rinse thoroughly until water runs clear
Pro tip: Never skip this step. Washing a dirty car without pre-rinsing is the #1 cause of paint swirls and scratches.
4.2 Foam Wash & Shampoo
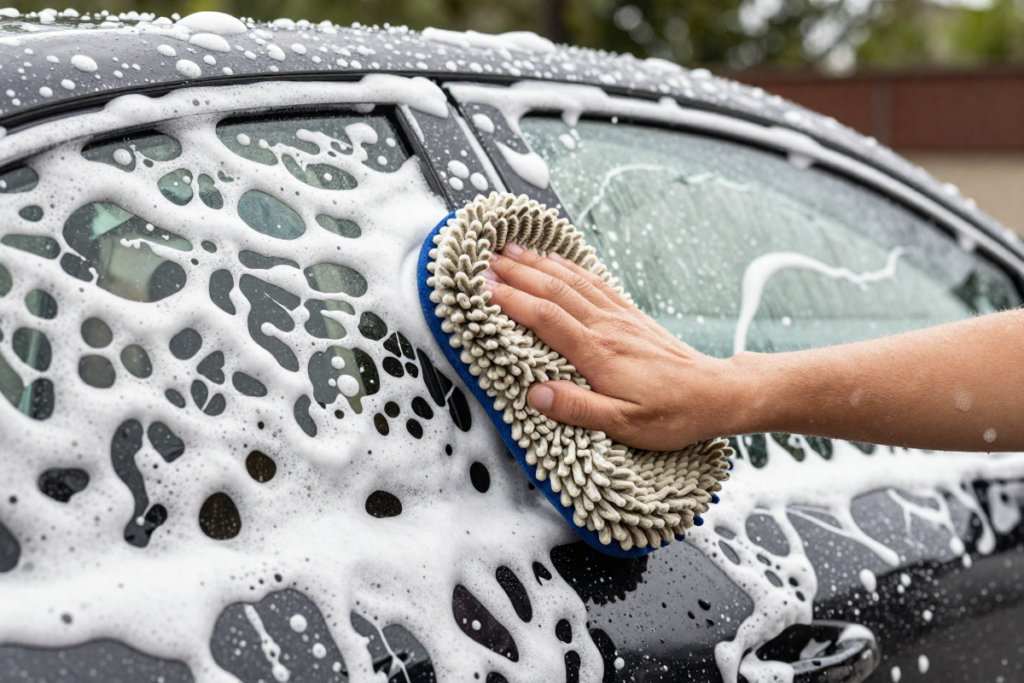
The Two-Bucket Method Explained:
This professional technique prevents reintroducing dirt to your paint:
Bucket 1: Clean water with car shampoo
Bucket 2: Plain rinse water
Process:
- Fill both buckets—add shampoo to only one
- Use a quality wash mitt (microfiber or sheepskin)
- Dip mitt in soapy water, wash one section
- Rinse mitt in plain water bucket before reloading with soap
- Work from top to bottom (roof, windows, hood, doors, lower panels)
- Use separate mitt for wheels and lower panels
Recommended Products:
- [pH-neutral car shampoo with SiO2 boost]
- [Foam cannon attachment for pressure washer]
- [Premium microfiber wash mitt]
Why pH-neutral matters: Dish soap and household cleaners strip protective wax and can damage clear coat. Always use dedicated car shampoo.
4.3 Wheels & Tires Cleaning
Wheels collect the most stubborn contaminants—brake dust, road tar, and baked-on grime.
Step-by-step:
- Spray wheels with dedicated wheel cleaner (acid-free for safety)
- Let dwell for 30-60 seconds (read product instructions)
- Use a wheel brush to agitate—soft bristles for painted wheels, stiffer for bare metal
- Use a smaller detailing brush for lug nuts and tight spaces
- Rinse thoroughly
- Apply tire cleaner/degreaser to tires
- Scrub with tire brush
- Rinse and dry
Recommended Products:
Pro tip: Clean wheels first (before washing paint) so splashed dirt doesn’t land on clean panels.
4.4 Bug, Tar & Contaminant Removal
Even after washing, your paint isn’t truly clean. Invisible contaminants—industrial fallout, tree sap, tar, overspray—bond to the clear coat.
Clay Bar Treatment:
The clay bar is a detailer’s secret weapon for glass-smooth paint.
How to use:
- Work on clean, wet paint (use clay lubricant or quick detailer)
- Flatten clay into palm-sized disc
- Glide gently across surface using light pressure
- Listen and feel—contaminated paint feels rough, clean paint feels smooth
- Fold and knead clay frequently to expose clean surface
- Work in 2×2-foot sections
- Wipe with microfiber towel after each section
For heavy contamination:
- Use dedicated bug and tar remover before clay bar
- Spray on, let dwell 1-2 minutes, wipe off
- Follow with clay bar for remaining bonded contaminants
Recommended Products:
Pro tip: Run your hand across paint after washing. If it feels rough like sandpaper, it needs clay treatment.
4.5 Drying the Car Properly
Improper drying causes water spots and scratches. Here’s the right way:
Best Methods:
Option 1: Microfiber Drying Towels
- Use large, plush microfiber towels (800+ GSM)
- Pat and drag gently—don’t scrub
- Use multiple towels for best results
- Wring out when saturated
Option 2: Air Blower
- Professional detailers’ choice
- Removes water from crevices, mirrors, trim
- Zero contact = zero scratching risk
- [PRODUCT RECOMMENDATION: Cordless car dryer/blower]
Pro tip: Dry in the shade to prevent water spots from sun evaporation.
4.6 Paint Protection (Optional but Recommended)
Clean paint is vulnerable. Protection preserves your hard work.
Three Options:
Car Wax (Traditional):
- Durability: 2-3 months
- Adds warm, deep shine
- Easy to apply
- Budget-friendly
- Premium carnauba paste wax
Paint Sealant (Synthetic):
- Durability: 4-6 months
- Strong chemical resistance
- High gloss finish
- Better than wax in harsh climates
- Synthetic paint sealant
Ceramic Spray Coating (Advanced):
- Durability: 6-12 months
- Superior water beading
- Easier maintenance washes
- More expensive but worth it
- SiO2 ceramic spray coating
Application tips:
- Work in shade on cool paint
- Apply thin, even layer
- Buff to crystal-clear shine
- Let cure per product instructions
5. Interior Deep Cleaning Checklist
Your car’s interior takes daily abuse—foot traffic, spills, UV exposure, body oils, and airborne contaminants. Here’s how to restore it to like-new condition.
5.1 Decluttering the Interior
Before cleaning, remove everything:
- Trash and loose items
- Floor mats (shake out and set aside for separate cleaning)
- Seat covers if removable
- Child seats, organizers, accessories
- Check glove compartment, door pockets, console, trunk
Pro tip: Use this opportunity to inventory what you actually need in your car. Less clutter = easier maintenance.
5.2 Vacuuming Everything
Thorough vacuuming is the foundation of interior deep cleaning.
Systematic approach:
- Start with seats (move seats forward/back for full access)
- Use crevice tool along seat tracks and edges
- Vacuum carpets and floor wells
- Don’t forget under seats, pedal area, and dead pedals
- Vacuum trunk including spare tire well
- Use brush attachment for dashboard, door panels, center console
- Vacuum air vents with narrow crevice tool
Best vacuum types:
Portable Car Vacuum: Convenient for quick jobs and hard-to-reach areas
Shop Vac: Superior power for deep cleaning carpets
Pro tip: Vacuum in multiple directions to lift embedded dirt from carpet fibers.
5.3 Carpet & Floor Mat Cleaning
After vacuuming, carpets often still have stains and embedded grime.
For Carpets:
- Apply carpet/upholstery cleaner or foam
- Work into fibers with stiff brush
- Let dwell per product instructions (usually 3-5 minutes)
- Blot with clean microfiber towels or extract with shop vac
- For stubborn stains, repeat or use spot treatment
- Allow to dry completely before replacing mats (crack windows or use fans)
For Rubber/All-Weather Mats:
- Spray with all-purpose cleaner or degreaser
- Scrub with stiff brush
- Rinse with hose
- Dry before reinstalling
For Carpet Floor Mats:
- Same process as interior carpets
- Can be more aggressive since they’re removable
- Hang to dry completely
Recommended Products:
- [Automotive carpet and upholstery foam cleaner]
- [Interior detailing brush set]
- [Carpet stain remover for tough spots]
Pro tip: Sprinkle baking soda on carpets before vacuuming to neutralize odors.
5.4 Seat Cleaning (Fabric vs Leather)
Seats get the most wear, so they need special attention.
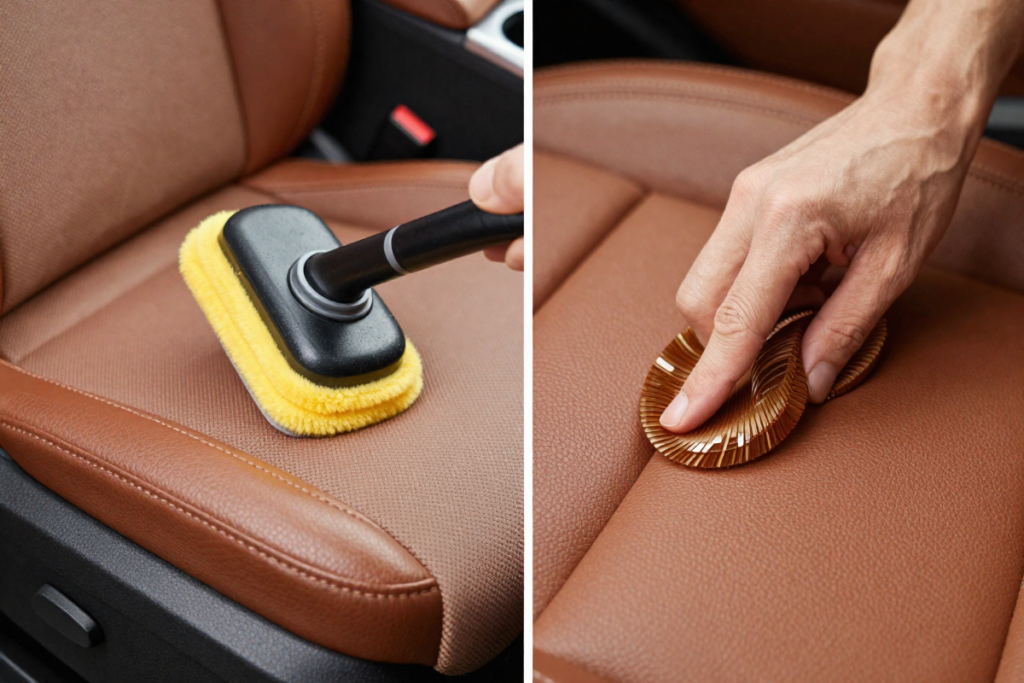
For Fabric/Cloth Seats:
- Vacuum thoroughly first
- Pre-treat stains with fabric cleaner
- Apply upholstery cleaner across entire seat (prevents uneven color)
- Agitate with soft brush in circular motions
- Wipe or extract with clean towels
- Allow to air dry completely
Recommended Product:
For Leather Seats:
Leather requires gentle cleaning and conditioning to prevent cracking.
- Vacuum to remove debris
- Spray leather cleaner on microfiber applicator (not directly on leather)
- Wipe gently using circular motions
- Focus on high-contact areas (bolsters, headrests)
- Wipe clean with separate damp microfiber towel
- Apply leather conditioner after cleaning
- Massage into leather and let absorb (15-20 minutes)
- Buff away excess
Recommended Products:
Pro tip: Clean and condition leather every 3 months to prevent cracking and fading. Don’t use “all-in-one” products—dedicated cleaner + conditioner works better.
For Vinyl/Synthetic Leather:
- Use same process as leather but can be slightly more aggressive
- Less conditioning needed but still beneficial
5.5 Dashboard & Console Detailing
Dashboards collect dust, UV damage causes fading, and oils from hands create grimy buildup.
Step-by-step:
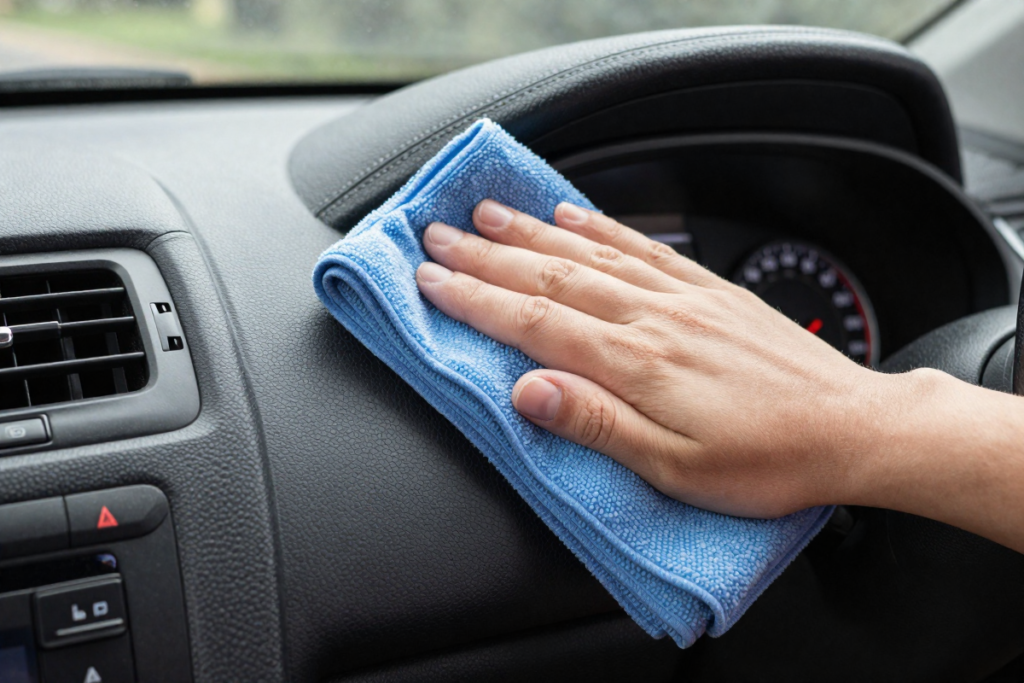
- Dust dashboard with microfiber towel first
- Spray interior cleaner on towel (never directly on dashboard—overspray damages screens)
- Wipe all hard surfaces: dash, center console, door panels, steering wheel
- Use detailing brush for textured surfaces and seams
- Clean around shift knob, cupholders (remove if possible)
- Wipe down steering wheel thoroughly (gets very dirty from hand oils)
- Apply protectant/dressing for UV protection and restored appearance
Safe cleaners for:
- Plastics: All-purpose interior cleaner or dedicated plastic cleaner
- Touchscreens: Screen-safe cleaner only (alcohol-free)
- Leather/vinyl steering wheels: Leather cleaner
Recommended Products:
- [All-purpose interior cleaner]
- [Dashboard UV protectant (matte or glossy finish)]
- [Electronics-safe screen cleaner]
Pro tip: Choose matte-finish protectants to avoid glare on windshield. Glossy “armor all” style products look nice but create dangerous reflections.
5.6 Air Vents & Hard-to-Reach Areas
These often-neglected areas harbor significant dust and bacteria.
Tools and techniques:
Air vents:
- Use small detailing brushes to dislodge dust
- Follow with compressed air to blow debris out
- Wipe with microfiber wrapped around small tool
- For heavy buildup, use foam brush dampened with cleaner
Other overlooked areas:
- Seat belt receptacles and belt material
- Cup holder depths (remove for deep cleaning)
- Door jambs and hinges
- Trunk latch and seal
- Pedal surfaces
- Headliner (use upholstery cleaner, be gentle—headliner sags if over-wetted)
Recommended Products:
- [Detail brushes in various sizes]
- [Compressed air canister or electric duster]
- [ Microfiber detailing swabs]
Pro tip: Cut an old credit card wrapped in microfiber to reach tight vent slats perfectly.
5.7 Odor Removal
Clean doesn’t just look good—it should smell good too.
Identifying odor sources:
- Mold/mildew (from moisture in carpets, AC system)
- Spilled food or drinks
- Smoke (hardest to eliminate)
- Pet odors
- General mustiness
Effective odor elimination methods:
For General Freshening:
- Activated charcoal bags (absorb odors naturally)
- Activated bamboo charcoal air purifying bags
- Place under seats, leave for several days
For Stubborn Odors:
- Sprinkle baking soda on carpets and seats
- Let sit overnight
- Vacuum thoroughly
- Repeat if needed
For Severe Issues (smoke, mold):
- Ozone generator treatment (premium solution)
- [RECOMMENDED: Car ozone generator machine]
- Runs while car is unoccupied, neutralizes odors at molecular level
- Professional-level results
For AC System Odors:
- Use AC cleaner/disinfectant spray
- Spray into fresh air intake while running fan on high
- AC system cleaner and deodorizer
DIY deodorizing hacks:
- White vinegar spray (diluted 1:1 with water) on fabric surfaces
- Coffee grounds in bowl overnight (absorbs odors)
- Essential oil diffuser designed for cars (fragrance after cleaning)
Pro tip: Never mask odors with air fresheners until you’ve eliminated the source. Fragrance + bad smell = worse smell.
6. Glass & Mirror Cleaning
Crystal-clear glass isn’t just about looks—it’s critical for safety and visibility.
The Streak-Free Method
Why glass gets streaky: Wrong products, wrong towels, or cleaning in direct sun.
The right way:
- Work in shade (sun causes cleaner to dry too fast)
- Use dedicated glass cleaner (not household cleaners with ammonia)
- Spray glass cleaner on microfiber glass towel, not directly on glass (prevents overspray on interior)
- Wipe in one direction (horizontal or vertical)
- Follow with second dry microfiber towel in opposite direction
- Buff any remaining streaks with clean, dry section of towel
Interior windshield tips:
The inside windshield develops a filmy haze from off-gassing plastics and dashboard materials.
Special technique:
- Use glass cleaner formulated for film removal
- May need multiple applications
- Wipe in circular motions first, then straight
- Check at night with interior light on—reveals remaining haze
Recommended Products:
- Ammonia-free auto glass cleaner
- Microfiber glass cleaning towels (waffle weave)
Pro tip: Clean wiper blades while doing glass—wipe along blade edge with alcohol. Replace if streaking. Clean blades = clean windshield longer.
7. Essential Car Cleaning Tools & Products
Let’s organize everything you need by category. I’ve included must-haves, recommended upgrades, and premium options.
Must-Have Tools:
These are non-negotiable for quality results:
Microfiber Towels Set
- Minimum 10-15 towels in various sizes
- 300+ GSM for general use, 800+ GSM for drying
- Separate colors for different purposes (wheels, paint, glass, interior)
- Professional microfiber towel variety pack
Foam Cannon or Foam Gun
- Attaches to pressure washer (cannon) or garden hose (gun)
- Creates thick foam for safer washing
- Foam cannon for pressure washer
- Foam gun for garden hose
Car Vacuum Cleaner
- Cordless for convenience or corded for power
- Multiple attachments (crevice, brush, upholstery)
- Powerful cordless car vacuum with HEPA filter
Detailing Brush Kit
- Various sizes and stiffness levels
- For vents, emblems, wheels, upholstery
- 5-piece detailing brush set
Quality Wash Mitt
- Microfiber or sheepskin (avoid sponges)
- Thick pile to hold soap and trap dirt
- Premium microfiber wash mitt
Two Buckets with Grit Guards
- 5-gallon capacity minimum
- Grit guards prevent dirt recirculation
- Car wash bucket set with grit guards
Recommended Cleaning Products:
Car Shampoo
- pH-neutral, won’t strip protection
- Bonus: SiO2-infused adds protection while washing
- pH-neutral car wash soap with ceramic boost
Wheel Cleaner
- Acid-free, safe for all wheel types
- Iron remover changes color to show it’s working
- Iron-removing wheel cleaner
Interior Cleaner
- All-purpose for plastics, vinyl, rubber
- UV protectant included
- All-purpose interior cleaner and protectant
Leather Cleaner & Conditioner
- Separate products work better than 2-in-1
- pH-balanced, won’t dry out leather
- Leather cleaner set with conditioner
Glass Cleaner
- Ammonia-free (safe for tint)
- Streak-free formula
- Professional auto glass cleaner
Tire Shine/Dressing
- Water-based lasts longer than solvent-based
- Matte or glossy finish options
- Long-lasting tire gel
Carpet & Upholstery Cleaner
- Foaming action lifts stains
- Safe for all fabric types
- Heavy-duty carpet and upholstery cleaner
Optional Premium Tools:
These aren’t essential but dramatically improve results and efficiency:
Steam Cleaner
- Chemical-free cleaning using hot steam
- Kills bacteria, removes tough stains
- Works on upholstery, carpets, vents, trim
- Professional detailers’ secret weapon
- Portable handheld steam cleaner for cars
Pressure Washer
- 1,200-1,900 PSI ideal for cars
- Makes pre-rinse and foam cannon possible
- Electric models great for home use
- Electric pressure washer 1,600 PSI
Ceramic Coating Kit
- 1-3 year protection (vs. 3-6 months for wax)
- Superior water beading and dirt resistance
- Requires more careful application
- DIY ceramic coating kit for beginners
Wet/Dry Shop Vacuum
- More powerful than car vacuums
- Can extract water from carpet shampooing
- Multi-use for garage and home
- Wet/dry shop vacuum
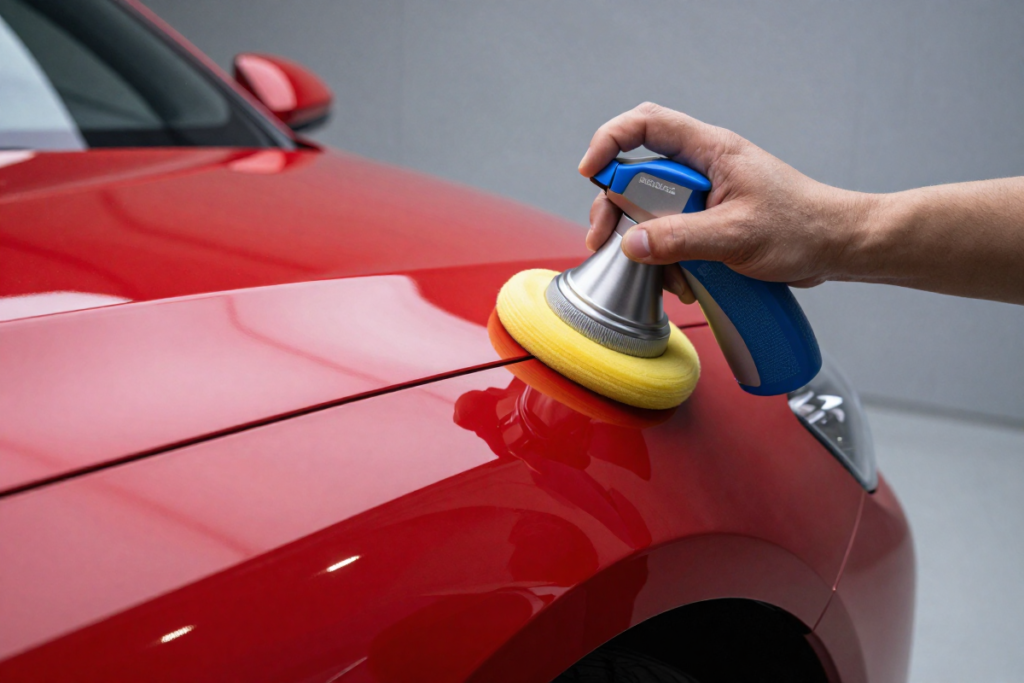
Dual Action Polisher (Advanced)
- For paint correction before protection
- Removes swirls and light scratches
- Requires learning curve
- Beginner-friendly dual action polisher
8. Pro Tips for a Professional-Level Finish
These insider techniques separate amateur cleaning from pro-level results:
Work Top to Bottom, Always
- Gravity pulls dirt downward
- Clean roof/upper panels first, wheels last
- Interior: headliner → seats → carpets
- Prevents re-dirtying cleaned areas
Never Clean in Direct Sunlight
- Heat causes products to dry too fast
- Creates streaks, water spots, uneven application
- Difficult to work with products properly
- Clean in shade, garage, or on overcast days
Use Separate Towels for Different Purposes
- Color-code system prevents cross-contamination:
- Red: wheels and tires
- Blue: exterior paint
- Yellow: glass
- Green: interior
- Once a towel touches wheels, never use on paint
Don’t Rush the Drying Process
- Water spots undo your hard work
- Dry immediately after washing
- Use multiple dry towels or air blower
- Check door jambs, mirrors, trim gaps for trapped water
Create a Maintenance Schedule
- Quick wash weekly (30 min)
- Deep clean quarterly (4-6 hours)
- Protection application 2-4 times per year
- Consistency prevents buildup requiring aggressive correction
Inspect Your Work at Different Angles
- Look at paint from multiple perspectives
- Check glass at night with light behind you
- Run hand across surfaces to feel for missed spots
- Step back and evaluate overall result
Quality Over Speed
- First deep clean takes 6-8 hours—that’s normal
- You’ll get faster with practice
- Rushing causes mistakes requiring re-work
- Put on good music and enjoy the process
9. Common Mistakes to Avoid
Learn from these frequent errors to save time, money, and protect your car:
Using Dish Soap on Paint
- Why it’s bad: Strips all protective wax/sealant
- The damage: Leaves paint vulnerable to UV, contaminants, oxidation
- The fix: Always use pH-balanced car shampoo
Skipping the Drying Step
- Why it’s bad: Mineral deposits in water leave permanent spots
- The damage: Etches into clear coat over time
- The fix: Dry immediately and thoroughly with proper tools
Mixing Interior Chemicals Incorrectly
- Why it’s bad: Using leather cleaner on fabric, or vice versa
- The damage: Discoloration, deterioration, permanent staining
- The fix: Read product labels, use correct cleaner for each surface
Ignoring Hidden Dirt Zones
- Why it’s bad: Door jambs, trunk seal, under hood, gas cap area neglected
- The damage: Complete detail looks incomplete, rust can develop
- The fix: Open everything, clean edges and seals during exterior wash
Over-Application of Tire Shine
- Why it’s bad: Too much product slings onto paint, creates mess
- The damage: Brown residue on lower panels, slippery tire surface
- The fix: Less is more—thin even coat, wipe excess immediately
Using Dirty Towels or Tools
- Why it’s bad: Reintroduces dirt and creates scratches
- The damage: Swirl marks in paint, streaks on glass
- The fix: Use clean tools and towels for each section
Cleaning Carpet/Upholstery Without Proper Extraction
- Why it’s bad: Cleaning product + dirt left in fibers
- The damage: Attracts more dirt, causes mildew smell
- The fix: Blot thoroughly or use wet/dry vacuum to extract moisture
Over-Wetting the Headliner
- Why it’s bad: Fabric headliners use water-soluble adhesive
- The damage: Headliner sags and separates from backing
- The fix: Use minimal moisture, dab gently, don’t saturate
10. How Long Does a Full Deep Clean Take?
Setting realistic time expectations prevents frustration.
Beginner Timeline (First Time):
- Exterior: 3-4 hours
- Interior: 3-4 hours
- Total: 6-8 hours for complete deep clean
Experienced Timeline (With Practice):
- Exterior: 2-3 hours
- Interior: 2-3 hours
- Total: 4-6 hours for complete deep clean
Professional Detailer Timeline:
- Full detail: 4-6 hours
- (They work efficiently but also do paint correction and premium treatments)
Time-Saving Tips:
Split the Job Across Two Days
- Day 1: Exterior (washing, decon, protection)
- Day 2: Interior (vacuuming, cleaning, detailing)
- Less exhausting, better attention to detail
Maintain Regularly to Reduce Deep Clean Time
- Weekly quick washes: 20-30 minutes
- Monthly interior maintenance: 45-60 minutes
- Quarterly deep clean becomes faster when less dirt accumulates
Use Better Tools
- Pressure washer saves 30-45 minutes vs. hose
- Cordless vacuum increases efficiency vs. corded
- Foam cannon reduces wash time
Prep Everything in Advance
- Gather all products and tools before starting
- Have clean buckets, towels ready
- Don’t stop mid-job to hunt for supplies
Don’t Strive for Perfection on First Attempt
- Good results beat no results
- You’ll improve each time
- Enjoy the process—it’s therapeutic
11. Conclusion
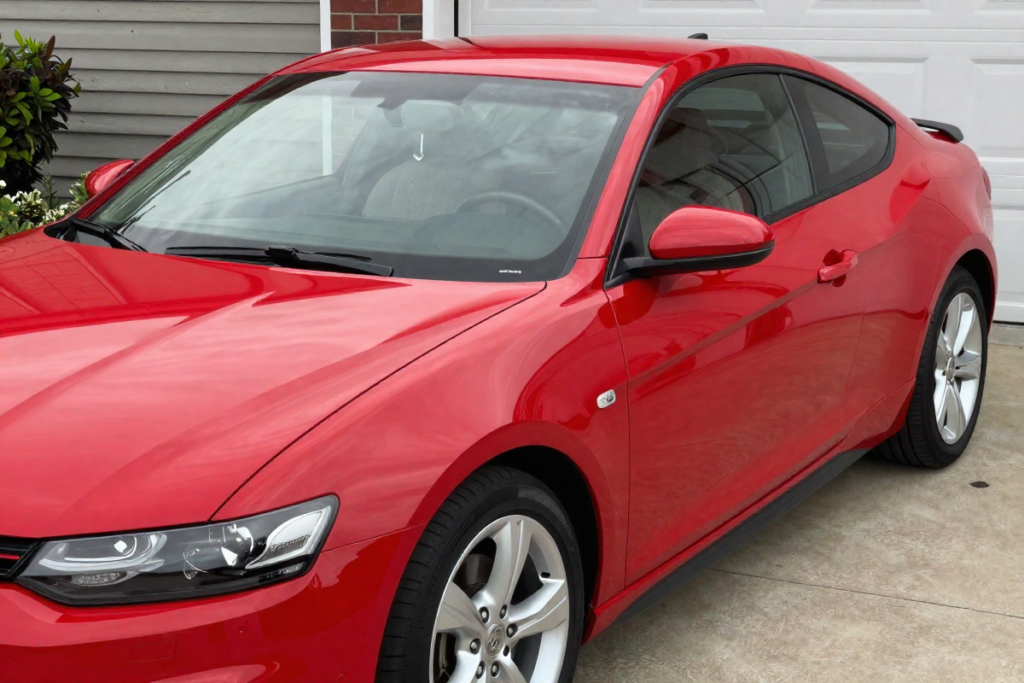
A truly deep-cleaned car is more than just good looks—it’s about preservation, pride of ownership, and creating a healthier environment for you and your passengers. Whether you’re preparing for a road trip, getting ready to sell, or simply maintaining your investment, this car deep cleaning checklist gives you everything you need for professional-level results at home.
Remember the key principles:
- Work systematically from top to bottom, inside and out
- Use the right products for each surface type—never compromise with household alternatives
- Take your time—quality results require patience, especially on your first few attempts
- Stay consistent with maintenance to prevent major buildup requiring intensive correction
The upfront investment in quality tools and products pays dividends. That [PLACEHOLDER: microfiber towel set], [PLACEHOLDER: pH-neutral car shampoo], and [PLACEHOLDER: interior cleaner kit] you purchase today will serve you through dozens of details over the years.
Ready to get started? Print this checklist, gather your supplies, and dedicate a weekend to transforming your vehicle. You’ll be amazed at the difference, and you’ll save hundreds compared to professional detailing while gaining valuable skills.
Your car spends its life protecting you—return the favor with the deep cleaning it deserves. Start today, and enjoy that showroom-fresh feeling every time you drive.
What’s your first step? Grab those essential tools and products above, clear your schedule, and let’s make your car spotless!