You just washed your car, dried it spotless, and stepped back to admire your work — but something still looks off. The paint gleams, the windows sparkle, but that chalky, sun-bleached plastic trim makes the whole car look like it rolled out of a decade-old used car lot. Sound familiar?
Faded plastic trim is one of the most common cosmetic complaints among car owners, and it has nothing to do with how well you maintain the rest of your vehicle. The good news? You don’t need to drop $200 at a detailing shop to fix it. With the right products and a little elbow grease, you can restore black plastic trim on your car at home — often for under $30.
In this guide, you’ll learn exactly what causes faded car plastic, which DIY restoration method works best for your situation, what products actually deliver results, and how to make those results last. Whether you’re a first-timer or a weekend detailing enthusiast, this step-by-step car trim restoration guide is built for you.
What Causes Car Trim to Fade?
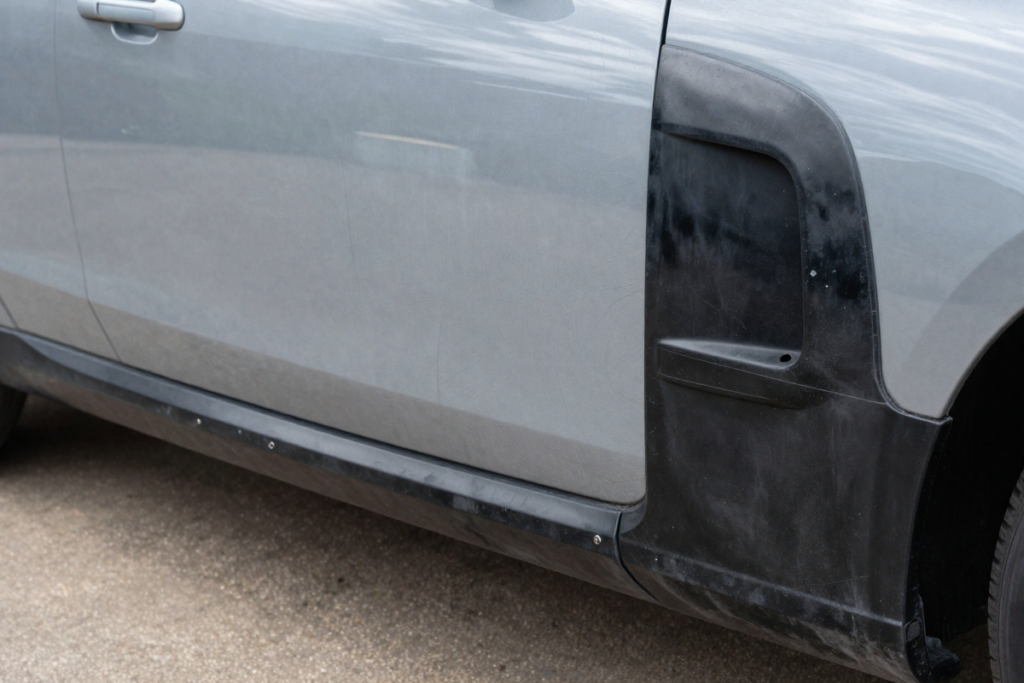
Before you can fix the problem, it helps to understand why it happens in the first place. Faded plastic trim isn’t random — it’s the result of specific, predictable causes.
UV Exposure and Oxidation
Sunlight is the number one enemy of exterior car plastic. Most automotive trim is made from polypropylene or similar thermoplastic polymers that contain pigment and UV-stabilizing oils. Over time, ultraviolet radiation breaks down those stabilizers and causes the plastic to oxidize. The result? That familiar chalky gray appearance where rich black trim used to be.
This UV degradation of automotive polymers is gradual, which is why many car owners don’t notice it happening until the trim looks significantly lighter than the paint.
Environmental Contaminants
Road salt, industrial fallout, acid rain, bird droppings, and airborne pollution all contribute to weathered car trim repair situations. These contaminants chemically attack the plastic surface, accelerating the breakdown of protective oils and pigment — especially in areas with harsh winters or heavy traffic pollution.
Poor Maintenance Habits
Here’s one people don’t expect: many common car care products actually make trim fading worse over time. Silicone-based dressings like basic Armor All temporarily darken plastic, but they don’t penetrate the surface. Over repeated use, they can build up, attract dust, and ultimately leave the trim looking worse than before.
Washing with harsh detergents also strips the natural oils from plastic, speeding up the aging process.
Low-Quality Plastic Materials
Not all trim is created equal. Budget vehicles and older cars often use lower-grade plastics with minimal UV protection built in. These materials fade faster and are harder to restore permanently. If you’re restoring faded plastic trim on an older car (10+ years), expect to need more prep work and possibly a more permanent solution like dye or coating.
Can Faded Plastic Trim Really Be Restored?
Short answer: yes — but with realistic expectations.
The key distinction is surface fading vs. deep structural damage. Surface oxidation (which accounts for the vast majority of cases) can be dramatically improved or fully reversed with the right products and methods. If the plastic is cracked, peeling, or has deep gouges, restoration products will improve its appearance but won’t perform miracles.
“Restoration” in the detailing world means returning the trim to a dark, uniform appearance close to its original condition — not making it look brand new if it’s structurally compromised.
How long do results last?
- Trim restorer gels/oils: 4–12 weeks
- Heat gun method: Several months (varies by UV exposure)
- Trim dyes and ceramic coatings: 6 months to 2+ years
The right choice depends on your budget, how much time you want to invest, and how long you need the results to last.
Tools and Materials You’ll Need (Budget-Friendly Options)
You don’t need a professional detailing kit to get great results. Here’s what to gather before you start your faded plastic trim restoration.
Cleaning Supplies
- Car wash soap (Chemical Guys Mr. Pink Car Wash Soap)
- All-purpose cleaner (APC) or degreaser (303 Automotive All-Purpose Cleaner)
- Microfiber towels (Microfiber Towel Set)
Restoration Products
- Trim restorer gel for black trim (Chemical Guys Black Trim Restorer Gel Kit)
- Automotive plastic dye (for permanent fix) (RIT Plastic Trim Dye)
- Heat gun (optional method) (Diafield Heat Gun with Temp Control)
Application Tools
- Foam applicator pads (Meguiar’s 4″ Foam Applicator Pads, 4 Pack)
- Detailing brushes (for crevices and textured plastic) (HMPLL 10 pc set)
- Isopropyl alcohol (70–99%) for surface prep
Protection Products
- UV protectant spray or ceramic trim coating (Chemical Guys UV Trim Protectant)
💡 Best Budget Trim Restoration Kits – Quick Comparison
| Product | Type | Longevity | Best For | Price Range |
|---|---|---|---|---|
| [Chemical Guys VRP Vinyl Rubber Dressing – Budget Pick] | Gel Restorer | 4–8 weeks | Beginners | $8–$15 |
| [Chemical Guys Gel Restore – Mid-Range Pick] | Restorer Gel | 3–6 months | Most DIYers | $15–$25 |
| [Cerakote Ceramic Trim Coat Restoration Kit – Premium Pick] | Ceramic Coat | 1–2 years | Long-term results | $25–$45 |
| [RIT Plastic Dye – Effective Option] | Plastic Dye | 1–3 years | Severely faded trim | $15–$30 |
Step-by-Step DIY Car Trim Restoration Process
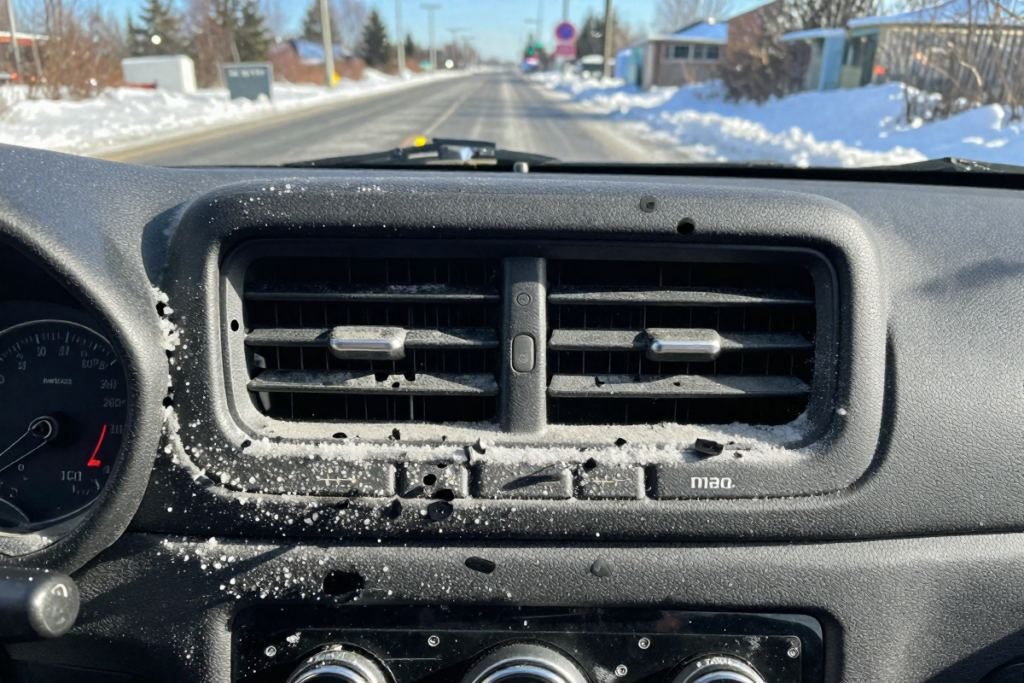
No matter which method you choose, every successful faded car plastic fix starts with the same two prep steps. Skipping these is the #1 reason DIY results disappoint.
Step 1 – Deep Clean the Trim
Start with a thorough wash using car wash soap and water to remove surface dirt. Follow up with an all-purpose cleaner applied to a microfiber towel or detailing brush, scrubbing the trim thoroughly — including textured areas where grime hides.
Why this matters: Any dirt, oil, or old dressing left on the surface will prevent your restoration product from bonding properly. A trim restorer applied over greasy residue will look uneven and peel off quickly.
Rinse completely and allow the trim to dry for at least 15–20 minutes before moving on.
Step 2 – Strip Old Residue
Even after washing, old silicone-based dressings and product buildup can remain. Wipe down all trim surfaces with isopropyl alcohol (IPA) on a clean microfiber towel. This is your final surface prep step, and it’s non-negotiable for lasting results.
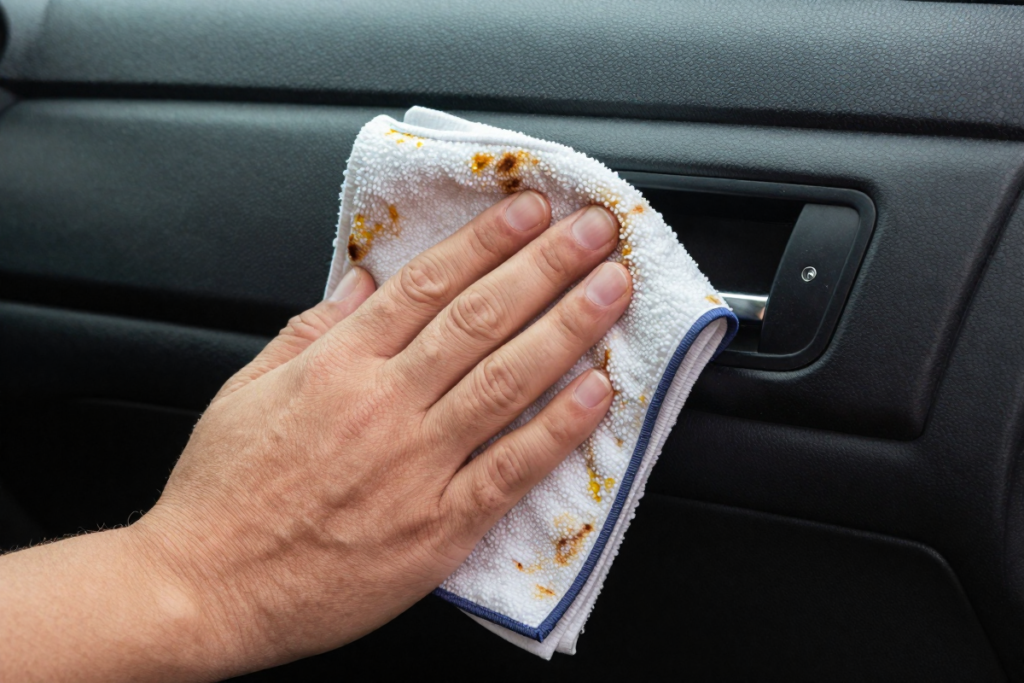
You’ll often see the towel turn gray or brown — that’s the old product and oxidation coming off. Keep wiping until the towel comes away clean.
Step 3 – Choose Your Restoration Method
Now you’re ready to pick your approach. There are three main methods for DIY car trim restoration, each with different effort levels, costs, and longevity:
- Method 1: Trim Restorer Product (easiest, most popular)
- Method 2: Heat Gun Restoration (fast, no product needed)
- Method 3: Trim Dye or Ceramic Coating (most permanent)
Method 1 – Using a Trim Restorer Product (Easiest & Most Popular)
This is the go-to method for most car owners tackling faded plastic trim restoration for the first time.
How It Works
Quality trim restorer gels penetrate the porous plastic surface to rehydrate it from within, restoring the dark pigment and adding a layer of UV protection. Unlike surface dressings, good penetrating restorers don’t just coat the plastic — they revive it.
How to Apply Properly
- Apply a small amount of trim restorer to a foam applicator pad
- Work it into the trim using firm, overlapping circular motions
- Allow it to absorb for 5–10 minutes (follow product instructions)
- Buff away any excess with a clean microfiber towel
- Apply a second coat if needed after 30 minutes
Pro tip: Use masking tape to protect adjacent painted surfaces. Trim restorer on paint won’t cause damage but can leave oily residue that’s a nuisance to remove.
Pros and Cons
✅ Beginner-friendly — no special equipment needed
✅ Affordable ($10–$25 for most products)
✅ Quick results in under 30 minutes
❌ Results are temporary (weeks to a few months depending on exposure)
❌ Requires reapplication over time
Recommended Products
- Budget: [Chemical Guys VRP Vinyl Rubber Dressing] — great for older cars or one-time use
- Mid-Range: [Solution Finish Trim Restorer] — known for penetrating results and longer wear
- Premium: [Cerakote Trim Coat] — ceramic-based, significantly longer lasting than traditional restorers
Method 2 – Heat Gun Restoration (Controversial but Effective)
Search “heat gun plastic trim restoration” online and you’ll find passionate debates. Here’s the honest truth: it works, but only when done correctly.
How Heat Restores Plastic
Exterior car trim plastic contains polymer oils that migrate to the surface over time, keeping the plastic dark and supple. UV exposure depletes these oils and causes the chalky gray appearance. Carefully applied heat draws residual oils back to the plastic surface through a process called thermal diffusion, temporarily darkening the trim without any products at all.
Note: This is only effective when there are still oils remaining in the plastic to draw out. Extremely weathered or brittle trim may not respond as well.
Step-by-Step Instructions
- Ensure the trim is clean and dry (complete Steps 1 and 2 above)
- Set your heat gun to a low-to-medium setting (around 200–300°F)
- Hold the heat gun 6–8 inches from the trim surface
- Move the heat gun in a steady, sweeping motion — never hold it in one spot
- Watch the trim darken as the heat is applied — stop when color returns
- Allow to cool completely before touching or driving
⚠️ Safety warnings: Never use a heat gun on cracked or brittle plastic — it can cause further damage or warping. Keep the gun moving at all times. Test on a small hidden area first.
Pros and Cons
✅ Zero product cost if you already own a heat gun
✅ Immediate, dramatic results
✅ Works well on heavily textured plastic (bumpers, fender flares)
❌ Risk of warping or burning if done incorrectly
❌ Results fade as the drawn-out oils deplete again
❌ Not a permanent fix — more of an accelerated surface treatment
Method 3 – Permanent Restoration with Trim Dye or Coating
For severely faded, neglected trim — especially on older vehicles — this is the most reliable long-term solution. If your trim has gone from black to light gray or white, trim dye or ceramic coating is where you should focus.
When to Use This Method
- Trim that doesn’t respond to restorer gels
- Plastic that has faded white or chalky over many years
- When you want results lasting 1–3 years without reapplication
- Before selling a car to maximize curb appeal
Application Process
- Complete thorough cleaning (Steps 1 and 2 — this is even more critical here)
- Apply plastic adhesion promoter if using spray dye (optional but recommended)
- Apply dye in thin, even coats using a foam applicator or spray
- Allow each coat to dry before applying the next (typically 15–30 minutes)
- Apply 2–3 coats for full, even color coverage
- Allow to fully cure for 24–48 hours before rain exposure
For ceramic-based coatings like Cerakote, follow the product-specific instructions closely — application technique significantly impacts longevity.
Pros and Cons
✅ Dramatically longer-lasting results (months to years)
✅ Best option for severely faded or neglected trim
✅ Can restore colored (non-black) plastic as well as black trim
❌ More time-intensive than other methods
❌ Mistakes are harder to reverse
❌ Higher upfront cost
Best Products to Consider
- [RIT Automotive Plastic Dye] — excellent for deep-faded trim, multiple color options
- [Cerakote Trim Coat] — ceramic-based semi-permanent coating, top-rated for longevity
- [Slick Products Trim Coat Spray] — good mid-range option for DIY beginners
Natural & Cheap DIY Alternatives (Do They Work?)
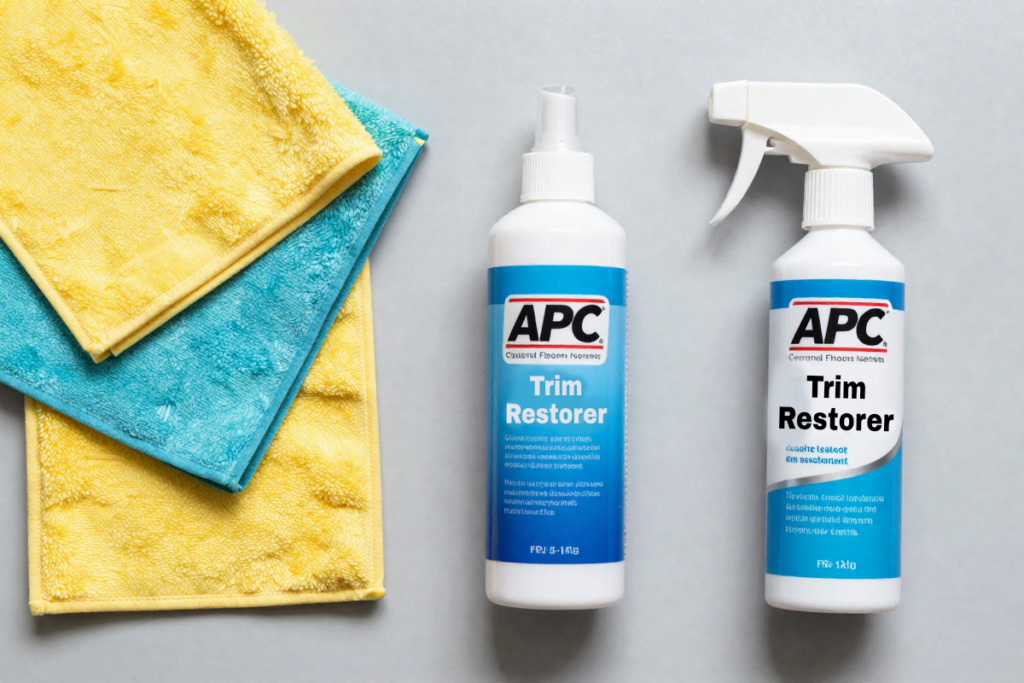
You’ve probably seen the viral hacks — people claiming peanut butter or WD-40 turned their faded trim jet black. Let’s sort fact from fiction.
Popular DIY Hacks
- Peanut butter – The oils temporarily darken plastic and reduce the chalky appearance
- Olive oil / coconut oil – Similar effect; natural oils rehydrate plastic briefly
- WD-40 – Darkens plastic almost immediately due to its petroleum base
Do They Actually Last?
Honestly? A few days at best. These household products have no UV protection and no ability to penetrate or bond with the plastic. They sit on the surface, looking great initially, then wash off — often leaving behind a greasy residue that attracts dirt and grime.
WD-40 in particular can speed up the degradation of certain plastics over time with repeated use.
Risks to Avoid
- Greasy surfaces that become dirt magnets
- Residue contaminating adjacent paint or glass
- False economy — you’ll be reapplying constantly with no cumulative benefit
Bottom line: These hacks are fine in a pinch, but they’re no substitute for a real trim restorer — especially when quality options start at under $15.
Common Mistakes to Avoid
Even experienced DIYers make these errors during faded car plastic fixes:
- Skipping the IPA wipe-down — Old dressings block product penetration; this step is essential
- Applying too much product at once — Thin, even layers outperform heavy application every time
- Using silicone-heavy dressings — These don’t restore, they coat; and they create long-term buildup issues
- Overheating with a heat gun — Moving too slowly or holding too close causes warping and discoloration
- Applying in direct sunlight — Heat causes products to dry too fast and streak; always work in shade or a garage
How to Maintain Restored Trim
Getting great results is only half the battle — keeping them is where most people fall short.
- Wash regularly with a pH-neutral car wash soap; avoid harsh detergents on trim
- Apply a UV protectant every 4–6 weeks to slow re-oxidation ([Chemical Guys UV Trim Protectant Spray])
- Reapply restorer based on your chosen method’s lifespan (check your product’s recommendations)
- Park in the shade or use a car cover when possible — UV exposure is the #1 cause of re-fading
- Avoid automatic car washes with harsh brushes that strip dressings and abrade plastic
Before and After Results: What to Expect
Here’s a realistic timeline for each method:
| Method | Visible Results | Lifespan | Redo Frequency |
|---|---|---|---|
| Trim Restorer Gel | Immediate | 4–12 weeks | Every 1–3 months |
| Heat Gun | Immediate | 2–6 months | Seasonally |
| Trim Dye | After curing (24–48 hrs) | 1–3 years | Annually or less |
| Ceramic Coating | After curing | 1–2+ years | Annually |
Heavily sun-damaged trim that has turned white or light gray will show more dramatic transformation but may require multiple treatment sessions to reach full restoration — especially with dye methods.
Cost Comparison – DIY vs. Professional Restoration
One of the most compelling reasons to tackle this yourself is the price difference.
DIY Trim Restoration Cost Breakdown:
- Cleaning supplies (if you don’t have them): $5–$15
- Trim restorer gel: $10–$25
- Trim dye or ceramic coating: $20–$45
- Total DIY cost: $10–$50
Professional Detailing Cost:
- Basic trim restoration service: $100–$175
- Full exterior detail including trim: $200–$350+
- Mobile detailer premium: Add 20–30%
The verdict: DIY trim restoration delivers 80–95% of professional results for 10–20% of the cost. Unless you’re dealing with a luxury vehicle or have no time at all, the DIY route is the clear winner.
Frequently Asked Questions
How long does trim restoration last?
It depends on the method. Trim restorer gels last 4–12 weeks, the heat gun method lasts 2–6 months, and trim dyes or ceramic coatings can last 1–3 years. UV exposure, weather, and washing frequency all affect longevity.
Is a heat gun safe for plastic trim?
Yes, when used correctly. Keep the gun 6–8 inches from the surface, keep it moving at all times, and use a low-to-medium heat setting. Never use a heat gun on cracked or brittle plastic, and always test on a small hidden area first.
Can badly faded trim be fully restored?
Surface-level fading can almost always be dramatically improved or fully reversed. Trim that has turned completely white or chalky gray responds best to dye or ceramic coating methods. Cracked or structurally damaged plastic will be improved but not fully restored by any DIY product.
What’s the best trim restorer for longevity?
Ceramic-based coatings (like Cerakote Trim Coat) and automotive plastic dyes offer the longest-lasting results, often 1–2+ years with proper prep and application. For a traditional restorer, look for penetrating gel formulas rather than silicone-based dressings.
Do DIY home remedies actually work?
They produce short-term results — olive oil, peanut butter, and WD-40 will temporarily darken faded plastic. However, they have no UV protection, wash off quickly, and can attract dirt. They’re not a substitute for purpose-built trim restoration products.
Final Verdict: Best DIY Method for Most People
Here’s how to choose the right approach for your situation:
On a tight budget and want quick results? → Go with a trim restorer gel. It’s the most accessible, beginner-friendly option that delivers immediate improvement for $10–$20.
Want longer-lasting results with no products? → Try the heat gun method if you already own one. Best for heavily textured plastic like bumper trim and fender flares.
Have severely faded trim or want a semi-permanent fix? → Invest in a trim dye or ceramic coating. The prep work takes more time, but the results speak for themselves — and you won’t be reapplying every few weeks.
For most car owners, the sweet spot is a quality penetrating trim restorer gel paired with a UV protectant — easy to apply, affordable, and effective enough for regular maintenance. If your trim is past the point of gels, step up to dye or ceramic coating.
Conclusion
Faded plastic trim doesn’t have to make your car look tired and neglected. Whether you choose a budget trim restorer gel, the heat gun method, or a long-lasting ceramic coating, you now have everything you need to restore black plastic trim on your car at home — without paying professional detailer prices.
To recap: always start with a thorough clean and IPA wipe-down, choose your method based on how faded the trim is and how long you want results to last, and protect your work with a UV protectant to extend the results.
Ready to get started? 👉 [Check out our recommended trim restoration products above] and pick the option that fits your budget and goals.
Found this guide helpful? Save it for your next detailing day — and if you try one of these methods, we’d love to hear your results in the comments below. Share this post with a fellow car owner who’s been putting up with chalky gray trim for too long!
Related Guides You Might Like:
- [Car Deep Cleaning Checklist: Everything You Need for a Spotless Finish]
- [Car Upholstery Cleaning Made Easy: Step-by-Step Guide for Beginners]
- [How to Wax a Car by Hand: Step-by-Step Guide for a Showroom Shine]
Disclaimer: This article contains affiliate links. If you purchase an item through the link I will earn a small commission at no extra cost to you.